
Want to send and receive money at a low-cost fee? Good news! Wise offers a cheap and fast way to send money abroad!
Wise, formerly Transferwise, is an authorized Electronic Money Institution independently regulated by the Financial Conduct Authority (FCA) in the United Kingdom. Due to this fact, it is perfectly safe for people to send and receive money anywhere in the world.
Note: Wise is the brand new name of TransferWise. They recently changed their name but still offer the best service when it comes to sending and receiving money abroad.

A London-based online money transfer company, Wise has more than 750 currency routes all over the world. It includes GBP, USD, EUR, AUD, and CAD. They also provide multi-currency accounts. So if you’re in the Philippines and expect to receive money abroad, Wise is one of the best options!
You can download the Wise application here: IOS | Android
[box]Other articles you can read:
- How to Send Money to Cebuana Lhuillier through BPI (BPI to Cash)
- How to Send Money from BPI to Palawan Express (BPI Online Banking to Cash)
- Bank Transfer Tips: What to Know When You Transfer Money from One Bank to Another
- How to Use and Send Money using GCash in the Philippines
- How to Send Money to Palawan Express While At Home [ BDO and Gcash Tips]
[/box]
Steps on How to Send Money through Wise
Step 1: Sign up with Wise for free. You can also sign up using your Google or Facebook account.
If you already have an existing account, go to Home on the Wise website then choose ‘Send Money’.
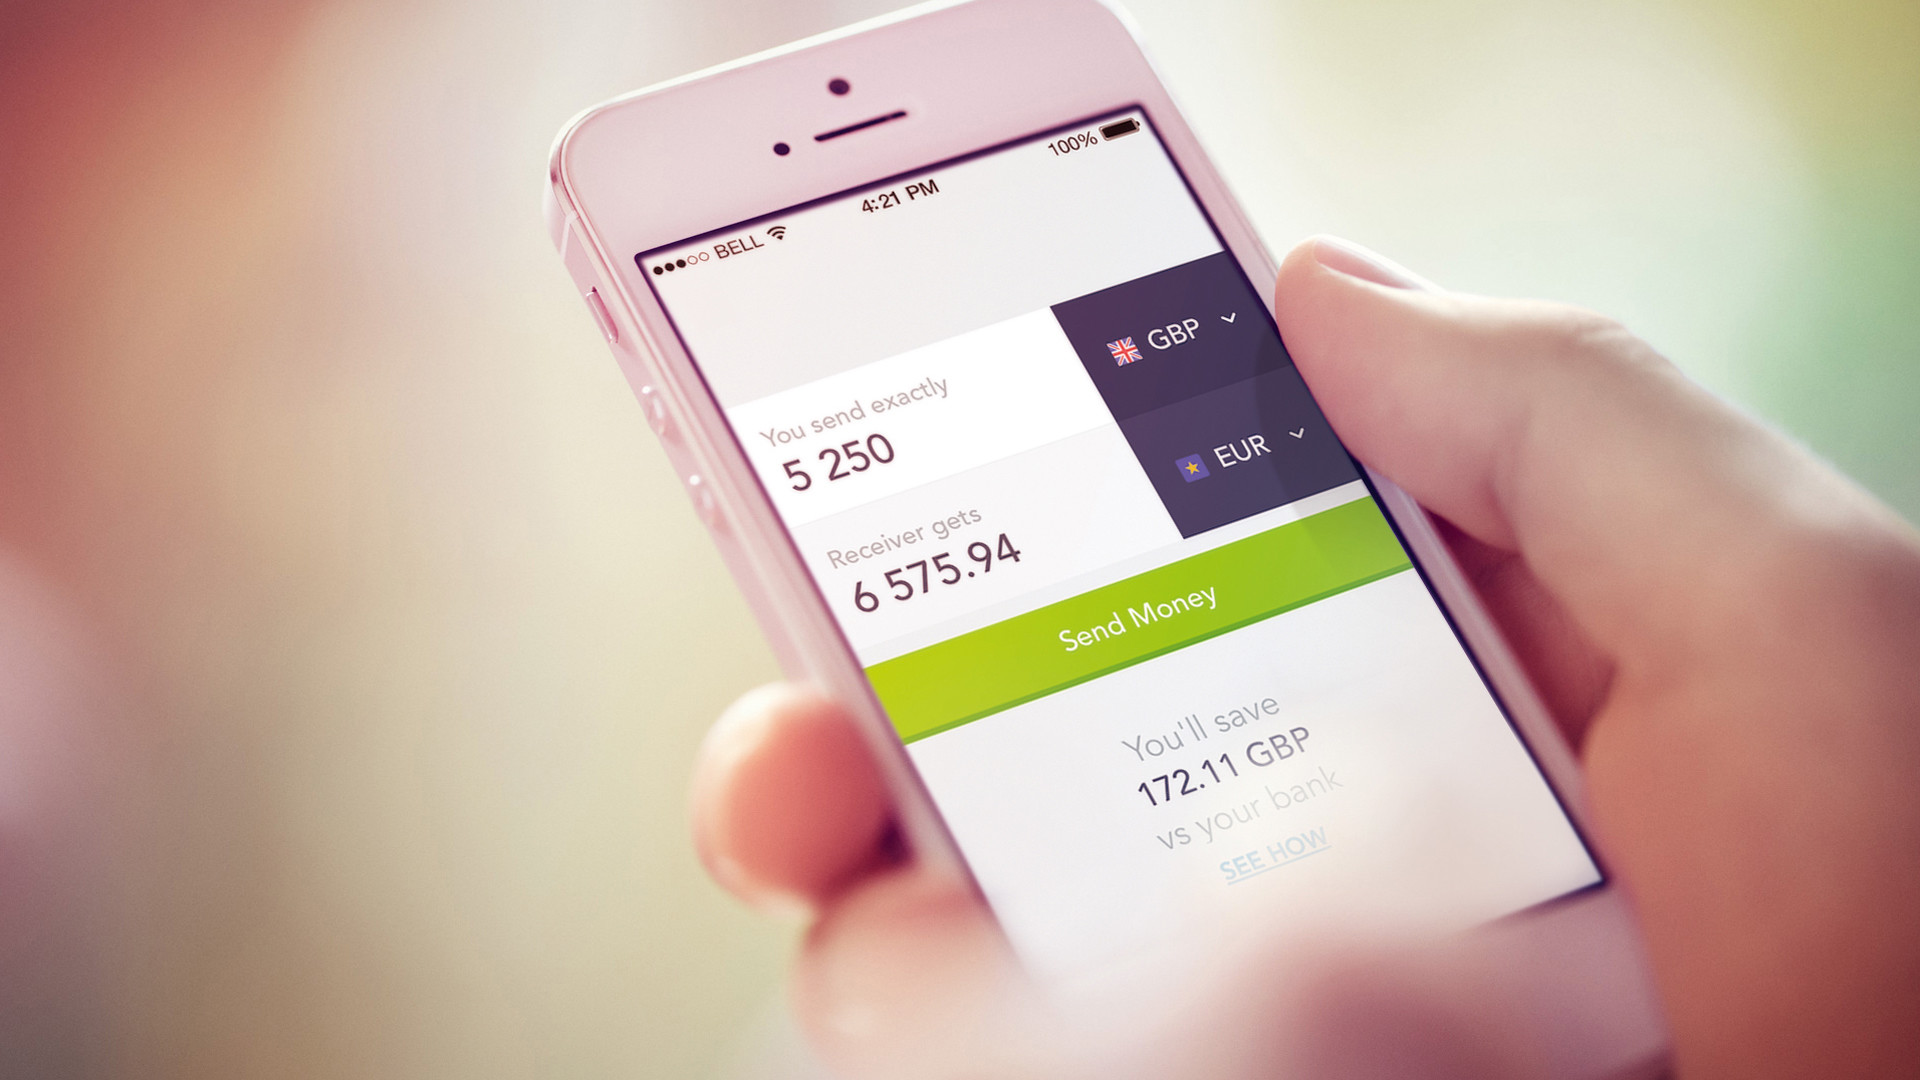
Step 2: Type in how much you want to send.
Tip by Wise: “If it’s important that your recipient gets an exact amount, type that amounts into the Recipient gets ‘box’. We’ll automatically tell you how much you need to send.”
Step 3: Indicate if it’s a ‘Personal Transfer’ or a ‘Business Transfer.’ If the transfer you’re making is from a personal bank account, then it’s a Personal Transfer.
Step 4: Fill in your details. Wise will ask for your personal details such as your address, they might probably ask for a photo of your ID as well for large transfers.
Step 5: Add the recipient’s bank details. If you have the recipient’s bank details then just simply add them in and Wise will transfer the money to that account. If you don’t have their details, uncheck the box, and Wise will send an email to the recipient asking them for you.
Step 6: Review all the details. Make sure that every detail you put in is correct before you transfer the money.
Step 7: Pay for your transfer. Choose your transfer type and how you can pay. You can send your money either with a bank transfer, or a debit or credit card. Wise will inform you of the fees for each option and how long it would take for the money to arrive.
Step 8: That’s it! You will receive a confirmation email from Wise regarding your transfer, they will also let you and you’re recipient know that the money is on its way. You can track your transfer on your account.
Steps on How to Receive Money through Wise
First, you have to remember that receiving money works the same as a regular bank account. Give your bank details of the currency you want to be paid to the sender.
Wise Note: At the moment, you can receive money directly into your account in US dollars (not available in all countries), euros, British pounds, New Zealand dollars, Australian dollars, Polish złoty, and Singapore dollars.
Step 1: Just open a balance in the currency you want to receive the money in. It’s possible to do this from Home on the website or app.
Step 2: Click Get bank details. If it’s your first time, you may need to complete some requirements first.
Step 3: Give your bank details to the sender.
Step 4: You will then receive their payment directly in your currency balance account.
Frequently Asked Questions
1. Are there limits on how much money I can send to the Philippines?
Yes. However, it will depend on which currencies you send to and from, and how you will pay. Using Wise’ calculator, you can check the limits for each of the currencies. They will also inform you if you’re trying to send too much at one time. BUT, if you want to send more than the allowed limits, it’s possible. You just have to set up several transfers that are under the limits.
2. How long does it take for the money to arrive in the Philippines?
Usually, Wise can send your money within one day or even seconds especially on popular routes. However, sometimes a different method or routine check may affect the transfer time. You can track each step in your account.
3. How much does it cost to receive large amounts?
Wise does not charge any fees to your balance. However, the sender’s bank may charge fees, so it’s better to coordinate with the sender.
4. Someone sent me money through Wise but I haven’t received it yet. What should I do?
If someone sent you money through Wise, the best thing you can do is to ask the sender. They are the ones who can check the status of their account. If you wish to talk to Wise’s support team, it is unfortunately not possible as they can’t give you any specific details for privacy and security reasons. In short, they can only give information to the person who sent it.
5. What are the local banks we can use to transfer money from Wise?
Here is the list of the supported Philippine banks:
- AMA Bank
- ANZ Bank
- Allied Bank
- Allied Savings Bank
- Asia United Bank
- BDO (Banco De Oro) Unibank
- BDO Network Bank (One Network Bank)
- BPI Family Savings Bank
- Bangkok Bank
- Bank of China
- Bank One Savings and Trust Corp.
- Bank of Commerce
- Bank of Tokyo
- Bank of the Philippine Islands (BPI)
- CTBC
- China Bank Savings
- China Banking Corporation
- CitiBank Savings
- Citibank
- City Estate Savings Bank
- City Savings Bank
- Deutsche Bank
- Development Bank of the Philippines (DBP)
- East West Bank
- Equicom Savings Bank
- Far Eastern Bank
- Filipino Savers Bank (A Rural Bank)
- First Allied Bank
- First Consolidated Bank
- First Macro Bank
- Guagua Savers Bank
- HSBC Savings
- Hongkong and Shanghai Bank (HSBC)
- International Exchange Bank
- Islamic Bank (Al-Amanah Islamic Investment Bank)
- Land Bank of the Philippines
- Luzon Development Bank
- Malayan Bank
- MayBank Philippines
- Metropolitan Bank and Trust Company (Metrobank)
- Pen Bank
- Philippine Bank of Communications (PBCOM)
- Philippine Business Bank
- Philippine National Bank (PNB)
- Philippine Savings Bank (PSBank)
- Philippine Trust Company
- Philippine Veterans Bank
- Planters Bank
- Postal Bank
- Premiere Bank
- RCBC Savings
- Rizal Commercial Banking Corp. (RCBC)
- Robinsons Savings Bank
- Security Bank Corporation
- Security Bank Savings
- Standard Chartered Bank
- Sterling Bank
- Tong Yang Savings Bank
- UCPB Savings Bank
- Union Bank of the Philippines
- United Coconut Planters Bank (UCPB)
- United Overseas Bank
- University Savings Bank
6. But I don’t have a bank account, do I have another option?
Yes. if you don’t have a bank account, you can also use an e-wallet like GCash or PayMaya.

We hope that this guide was able to help you in terms of sending and receiving money through Wise. If you already used their service, share with us your experience!
[line]
Are you on Pinterest? Pin these!
[line]
About the Writer
 Hi there! I’m Fatima. My first major travel was in 2016 in the beautiful city of Cebu. After that, I got interested in traveling. Now I enjoy learning languages and other country’s cultures. My goal is to visit at least one country each year and to share my experiences with other people through writing or blogging. Witness my journey by following me on Instagram.