There have been many technological advancements before we cash and checks were only used to pay and send money. Nowadays, you can send and add money online through apps. One of the most popular apps in the Philippines is PayMaya. If you don’t have an account yet, here’s a guide on How to Register and Use PayMaya.

Apps like GCash and PayMaya are a trend nowadays. Especially, as people don’t like to use cash to pay as viruses and diseases might spread there. To keep safe and avoid possibilities of contamination through money that has been on the hands of various people, online payment accounts are used. Here’s a detailed instruction on how you can get one. Learn also how to add money in your account, pay your bills, and send money to a loved one!
[box]Other articles you can read:
- How to Use and Send Money using GCash in the Philippines
- Start Up Business in the Philippines – How to Register your Business in DTI
- How to Use Transferwise to Send Money to the Philippines
- Step by Step Guide on How to Pay Your BIR Taxes Online in the Philippines
- How to Send Money to Palawan Express While At Home [ BDO and Gcash Tips]
[/box]
How to Register in Paymaya
STEP 1: Go to this link and download the PayMaya App. Tap “Create Account.”

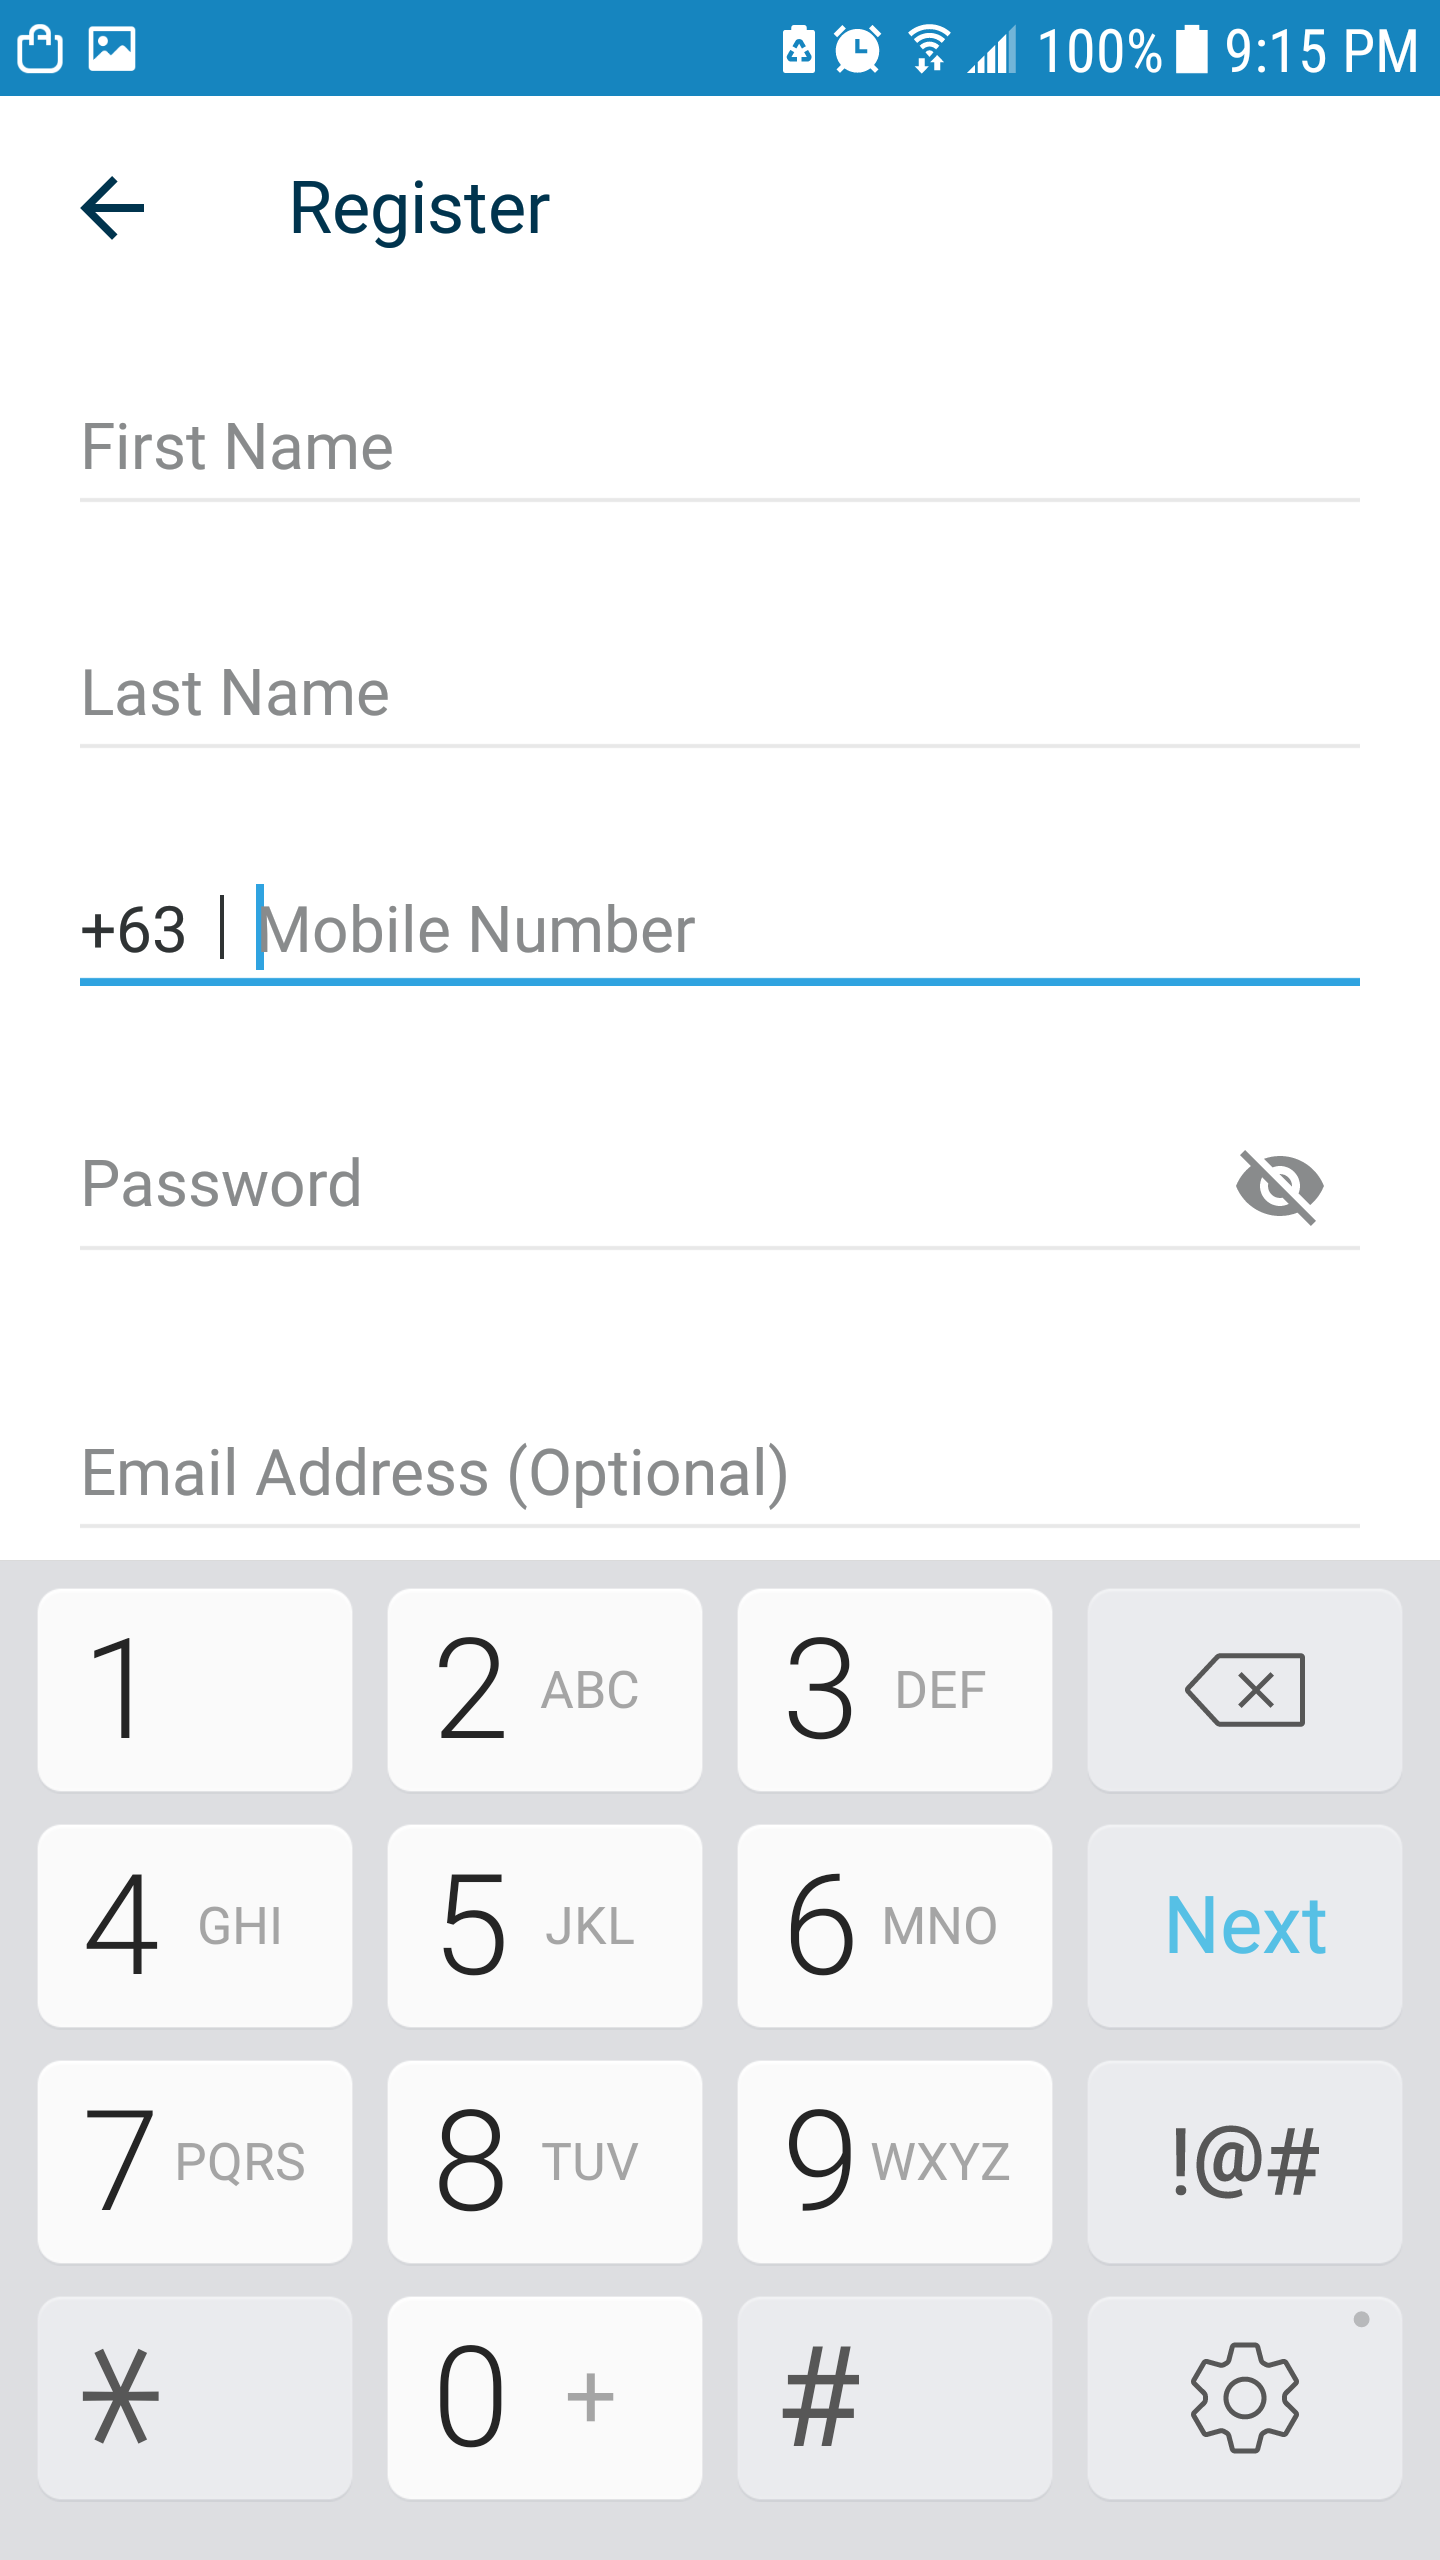
STEP 2: Enter your personal details to Register. Please use your full name to make your account easily validated.
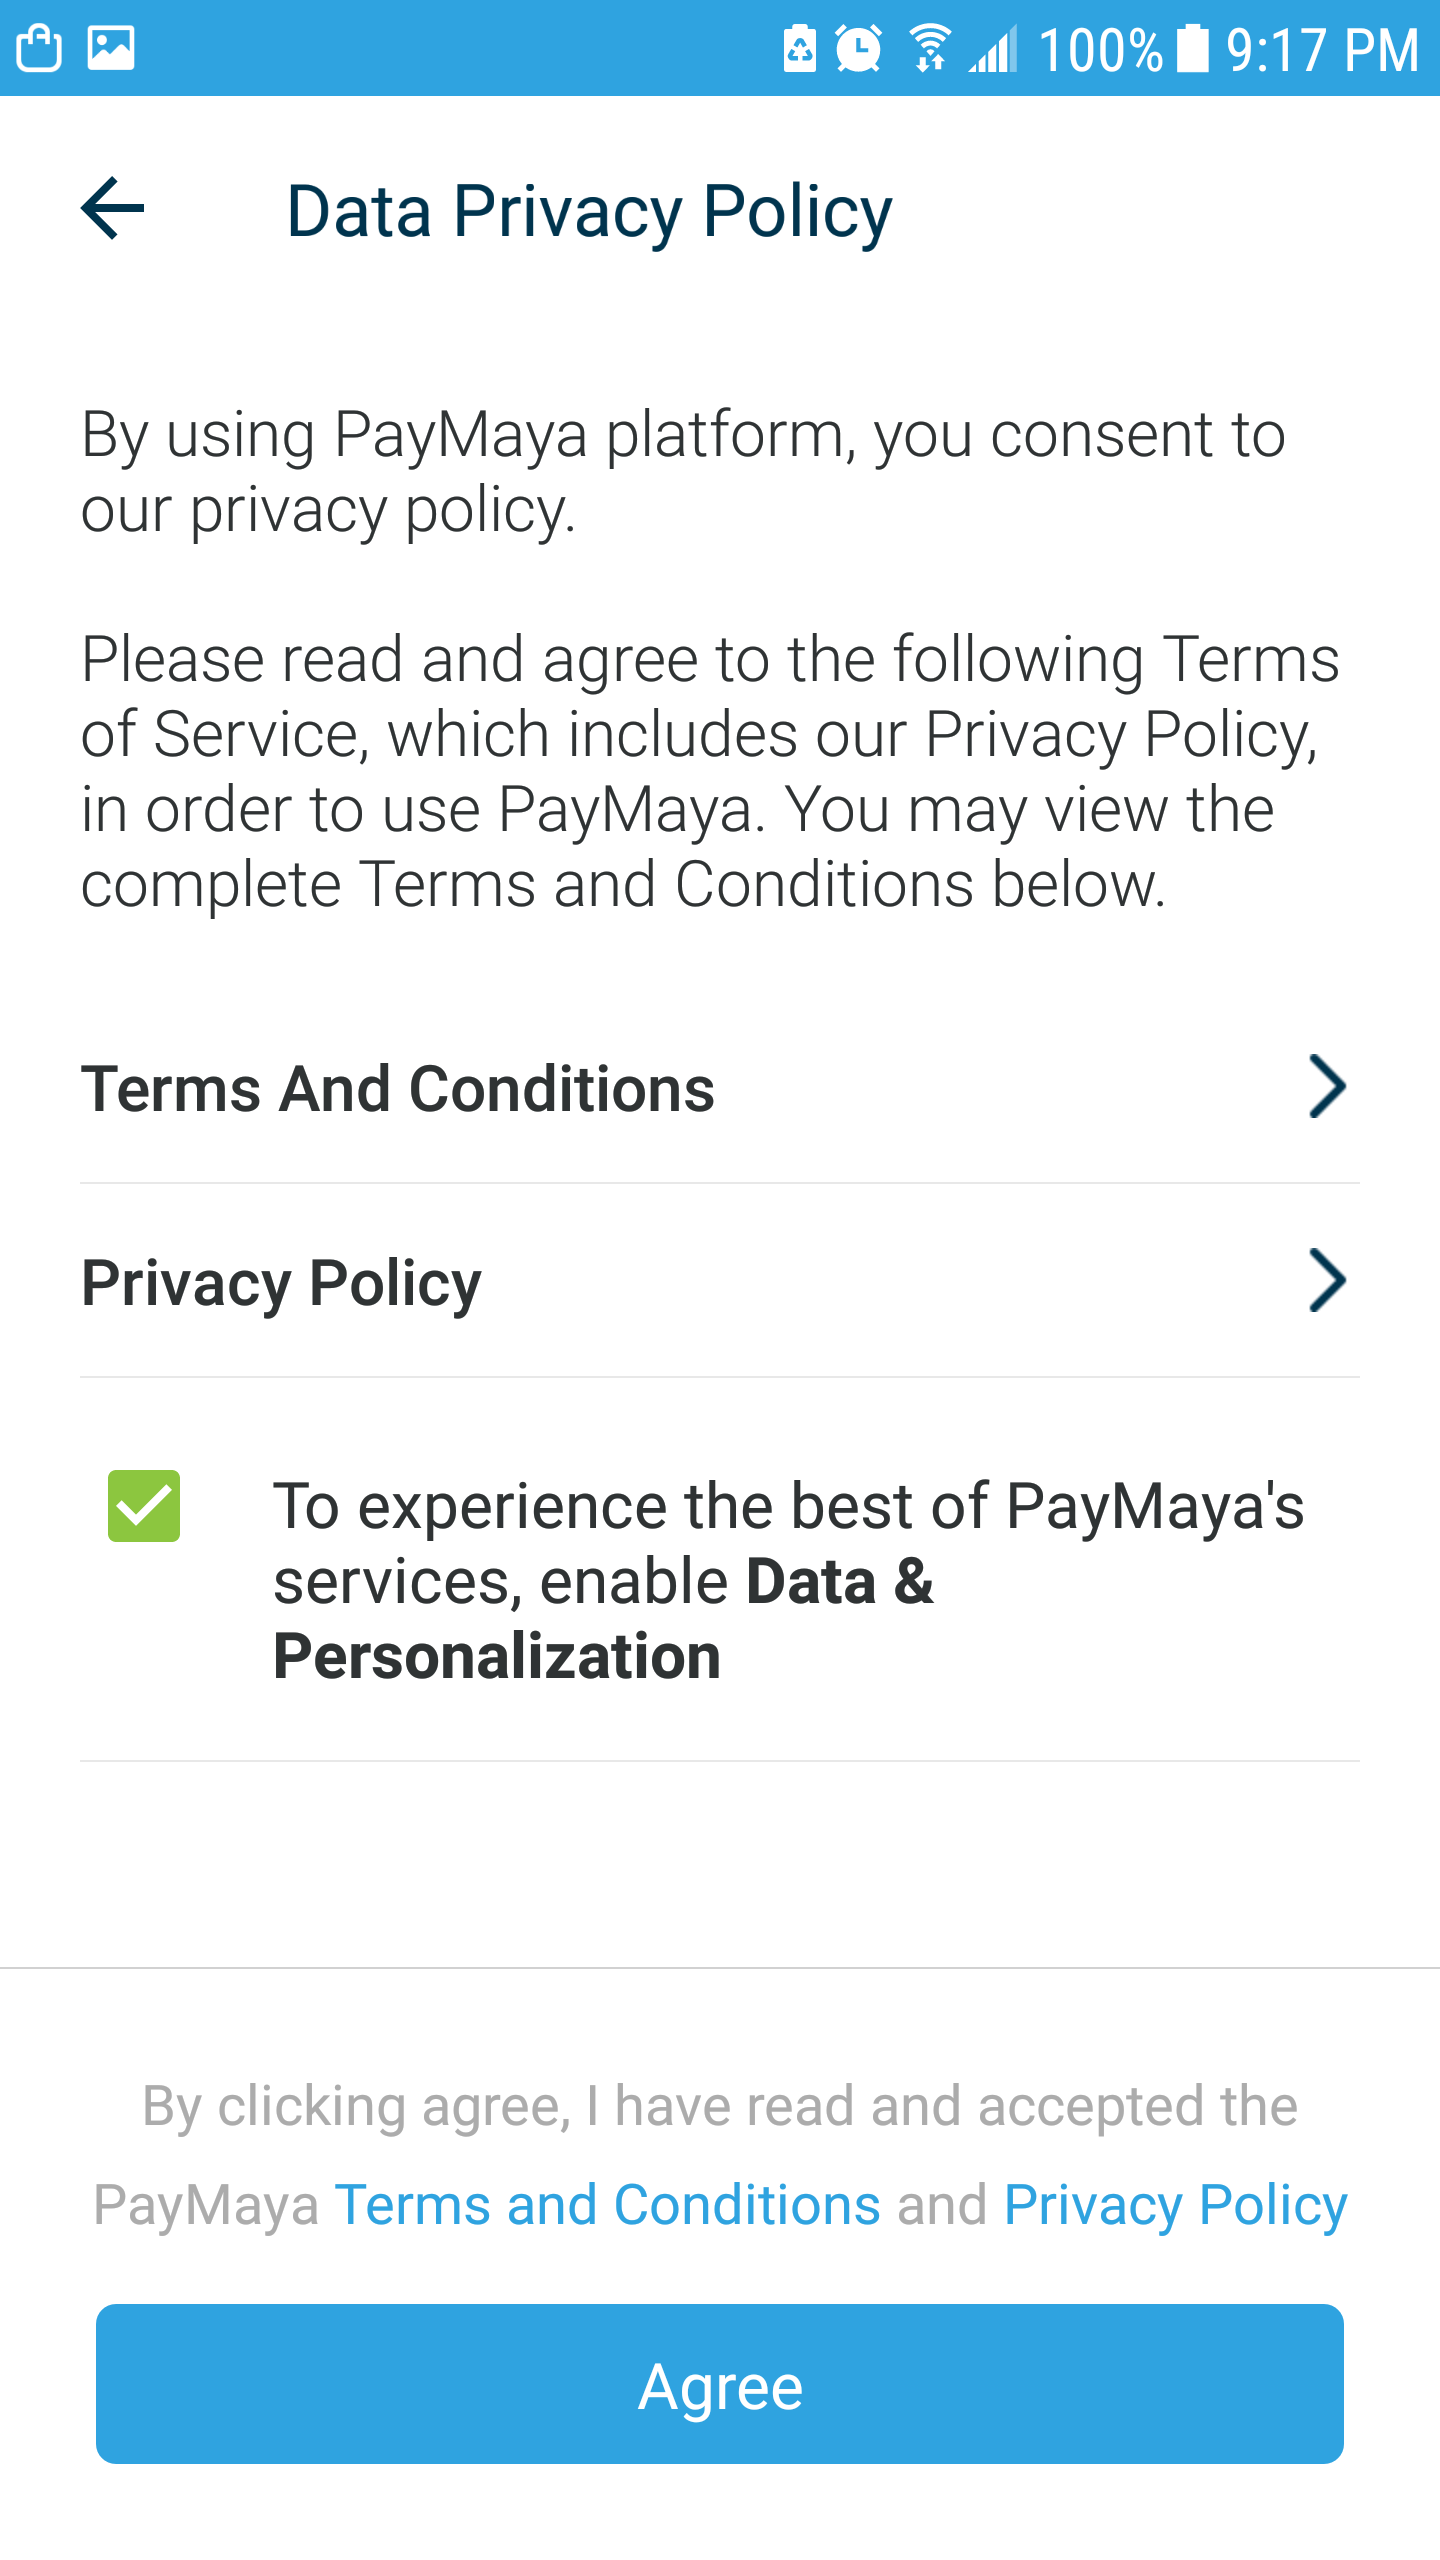
STEP 3: Read the terms and conditions and “Agree.”
STEP 4: Your mobile number will be verified. Enter what is sent via text to proceed.
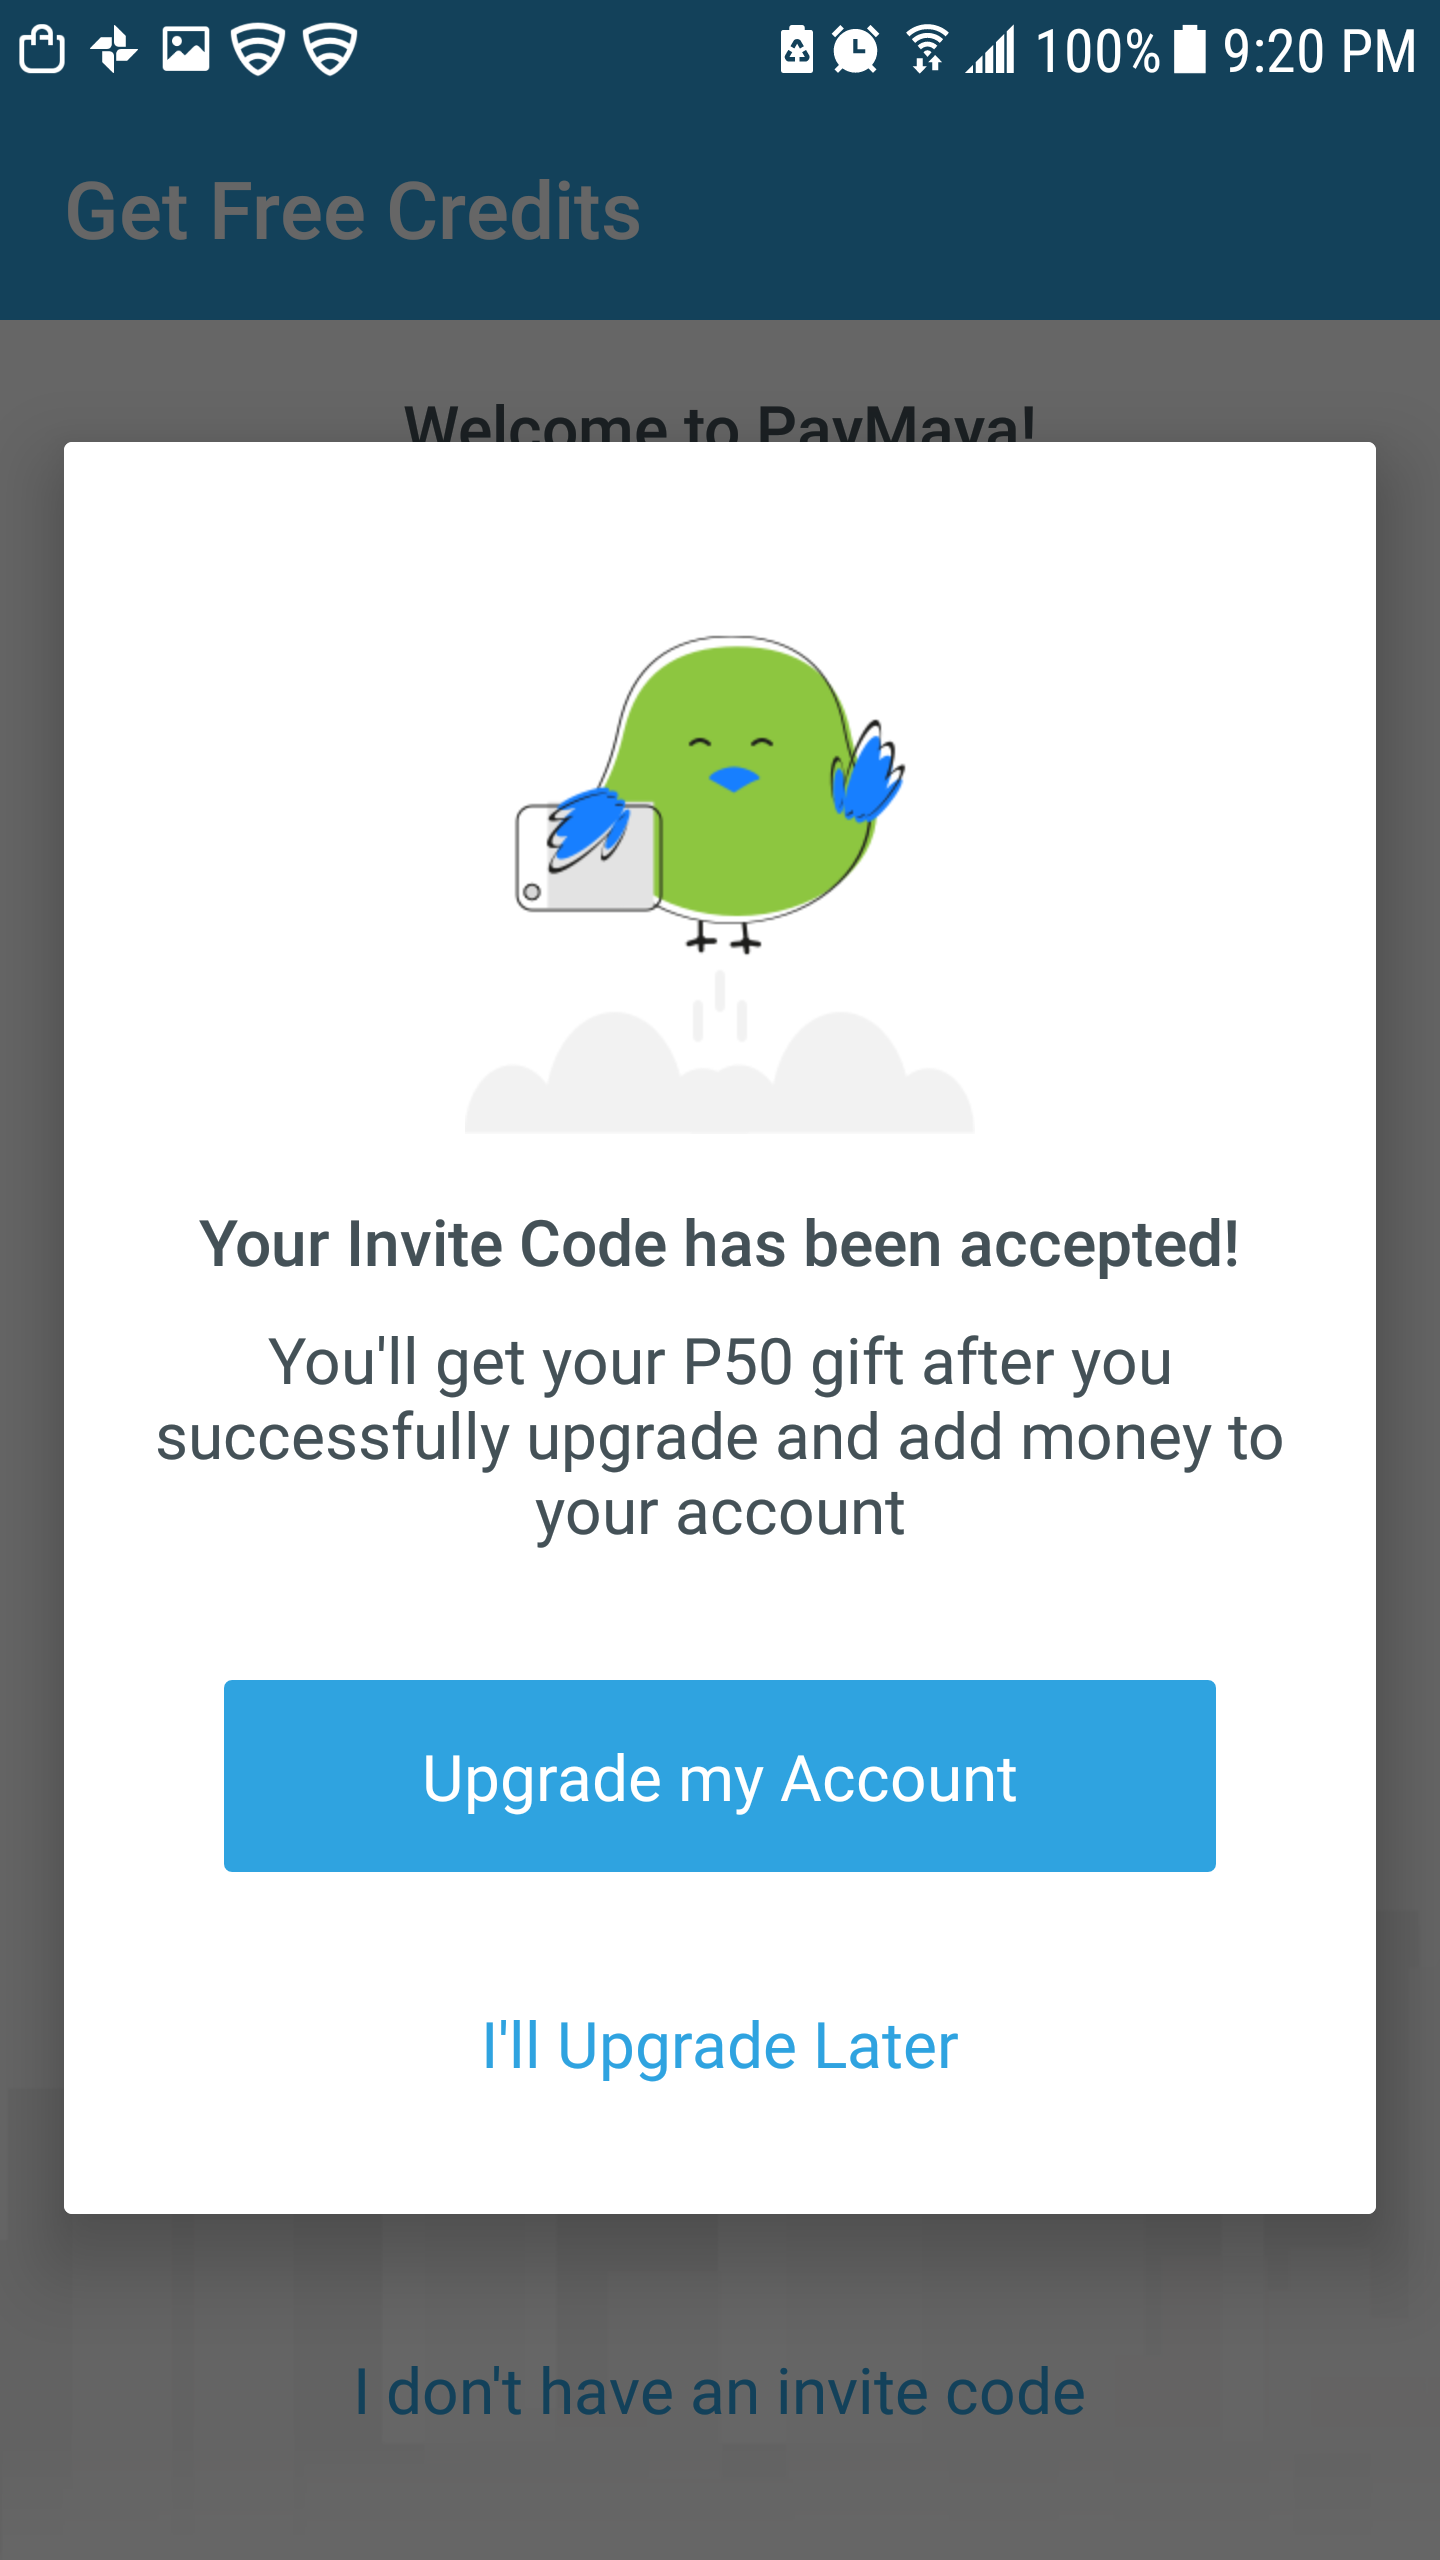
If you want to earn extra PHP 50 in your account, you can enter an invite code. You can use my code “2WDBO78.”
STEP 5: You can choose to update your account later or update it now.
How to Verify your PayMaya Account (Upgrade)
With an upgraded version of your PayMaya account, you can send money to other PayMaya users, withdraw from ATMs, and increase your limit to PHP 100,000. You will need to verify your identity, so a Valid ID is required.
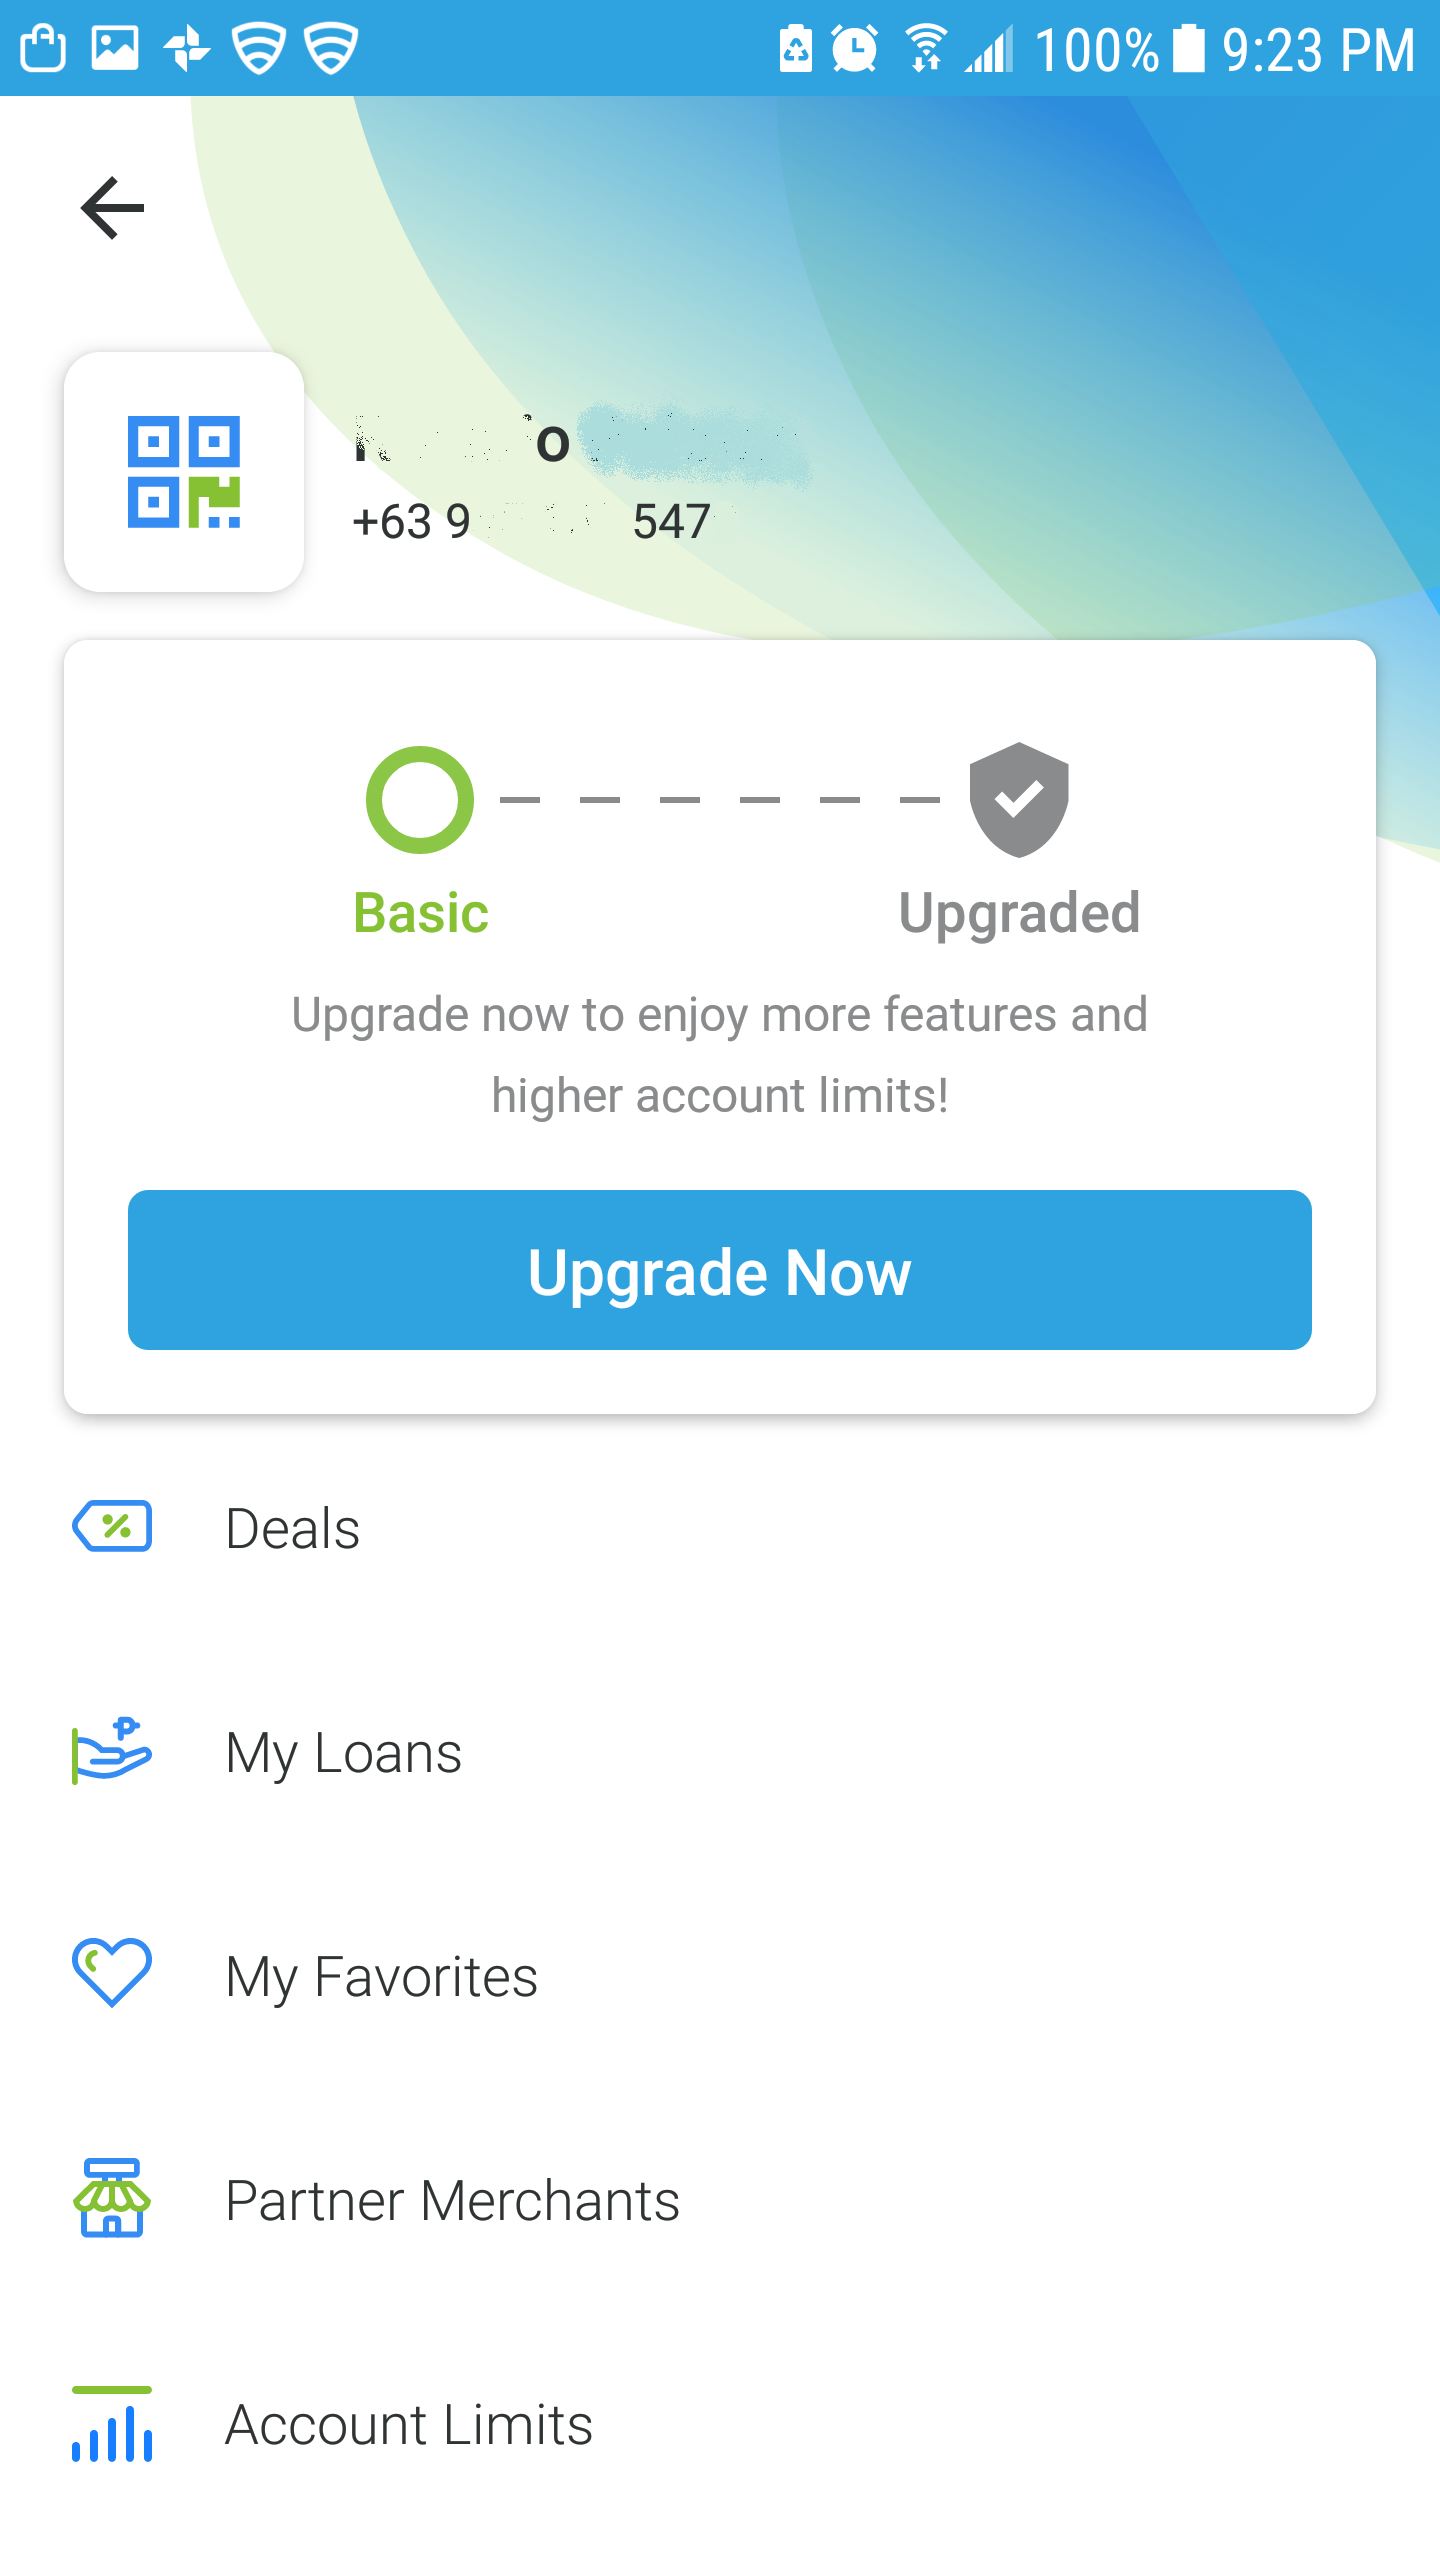
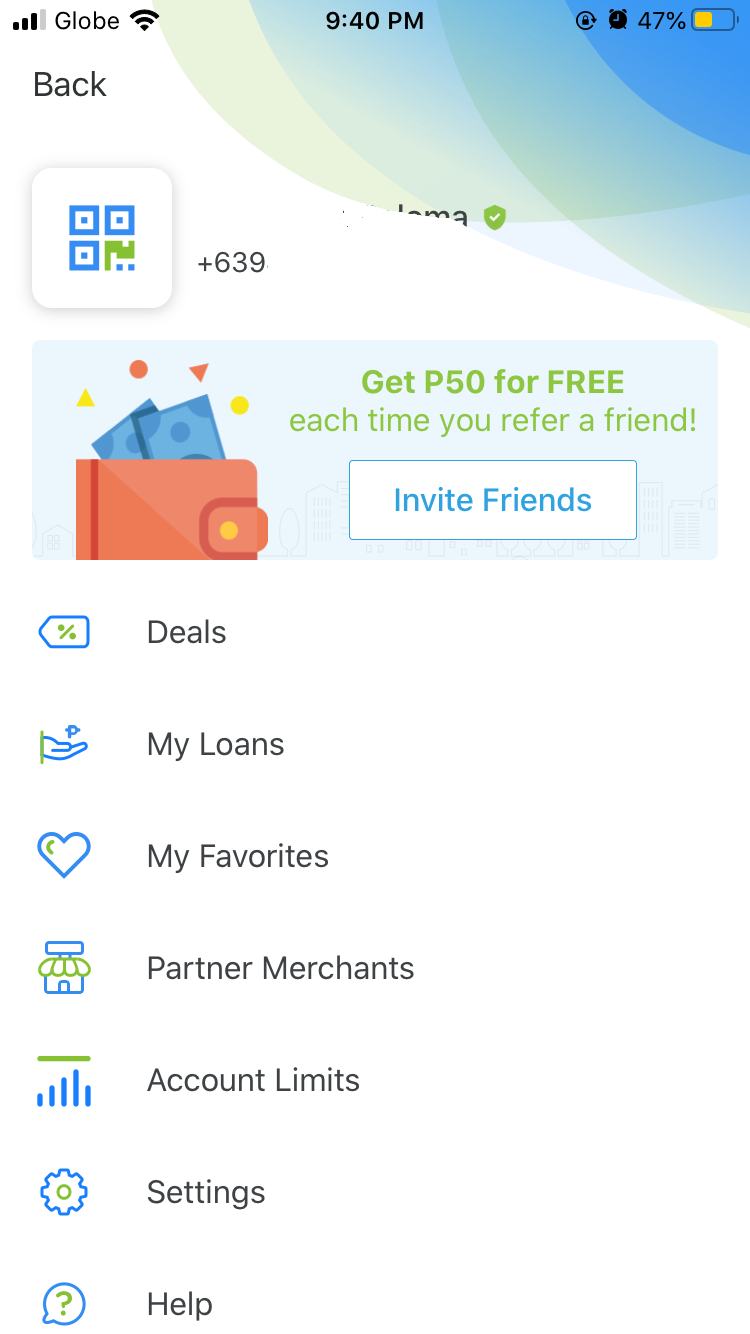
STEP 1: As per the last step above, you can choose to update it now or later. If you choose the second option, you can click the person icon on the upper left portion of the screen.
Go to “Upgrade Now.”
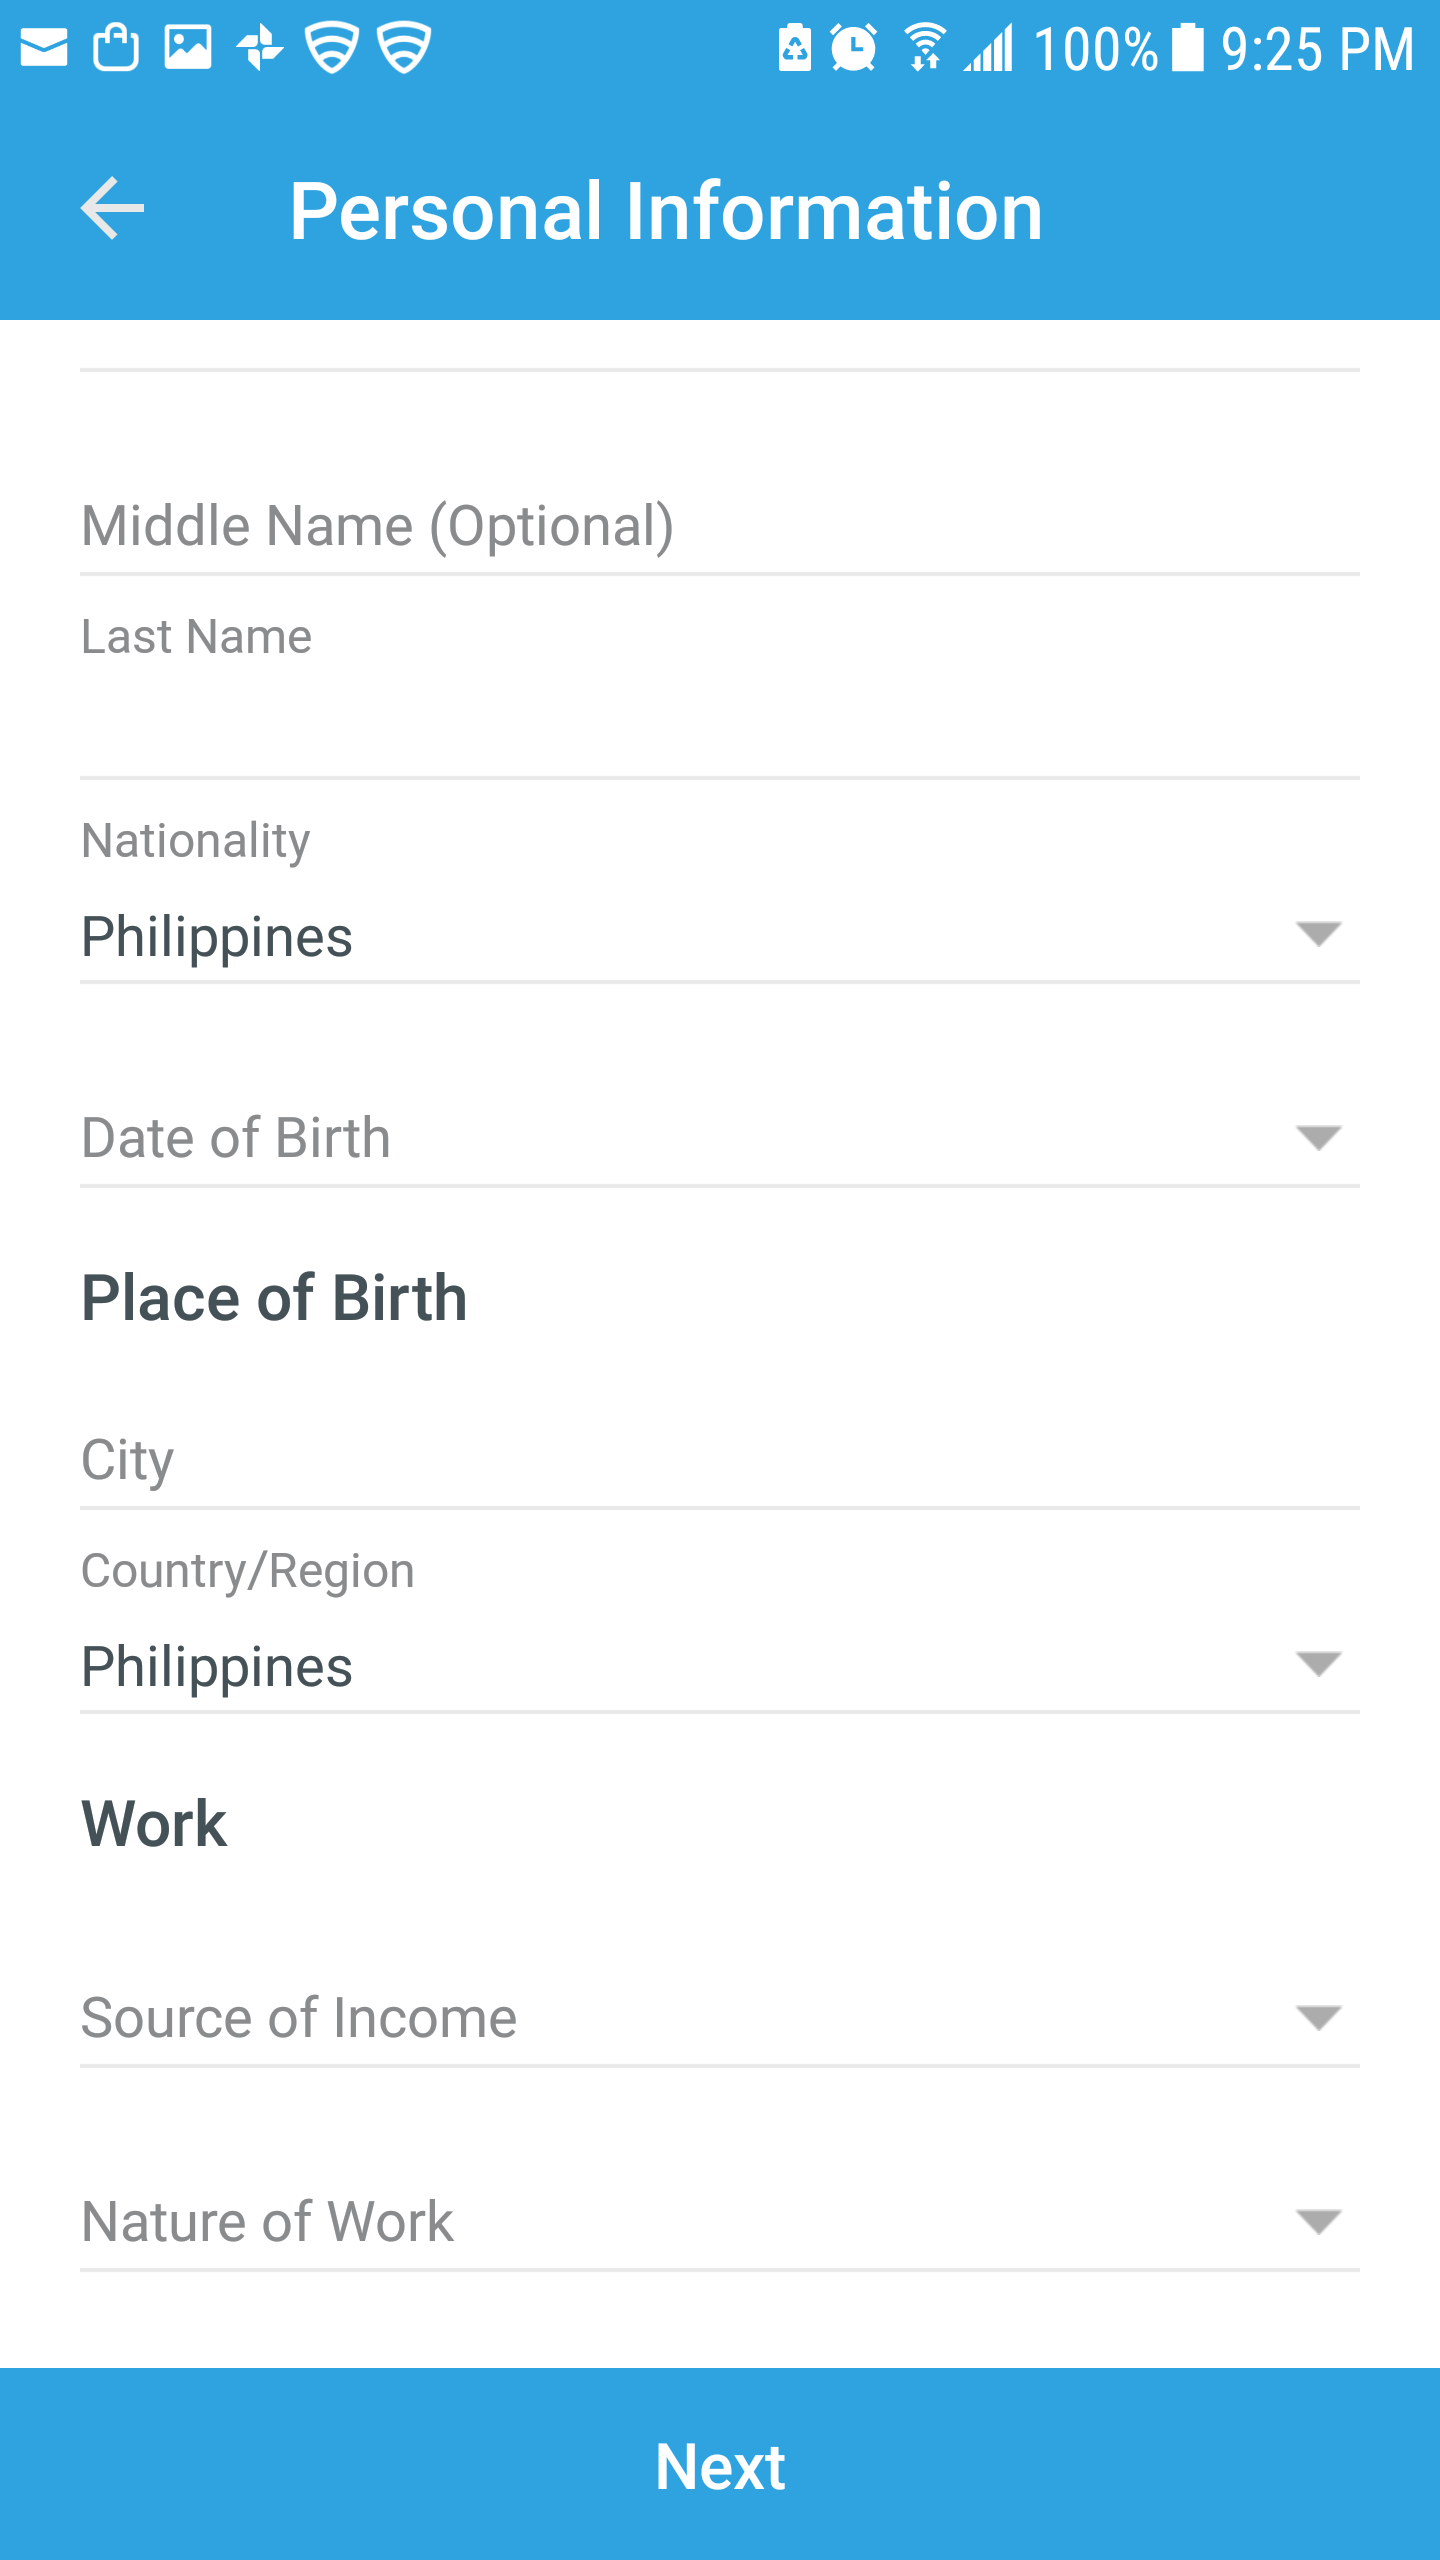
STEP 2: Tap “Next.” Read the Details. Proceed to type your Personal Information and Present Address.
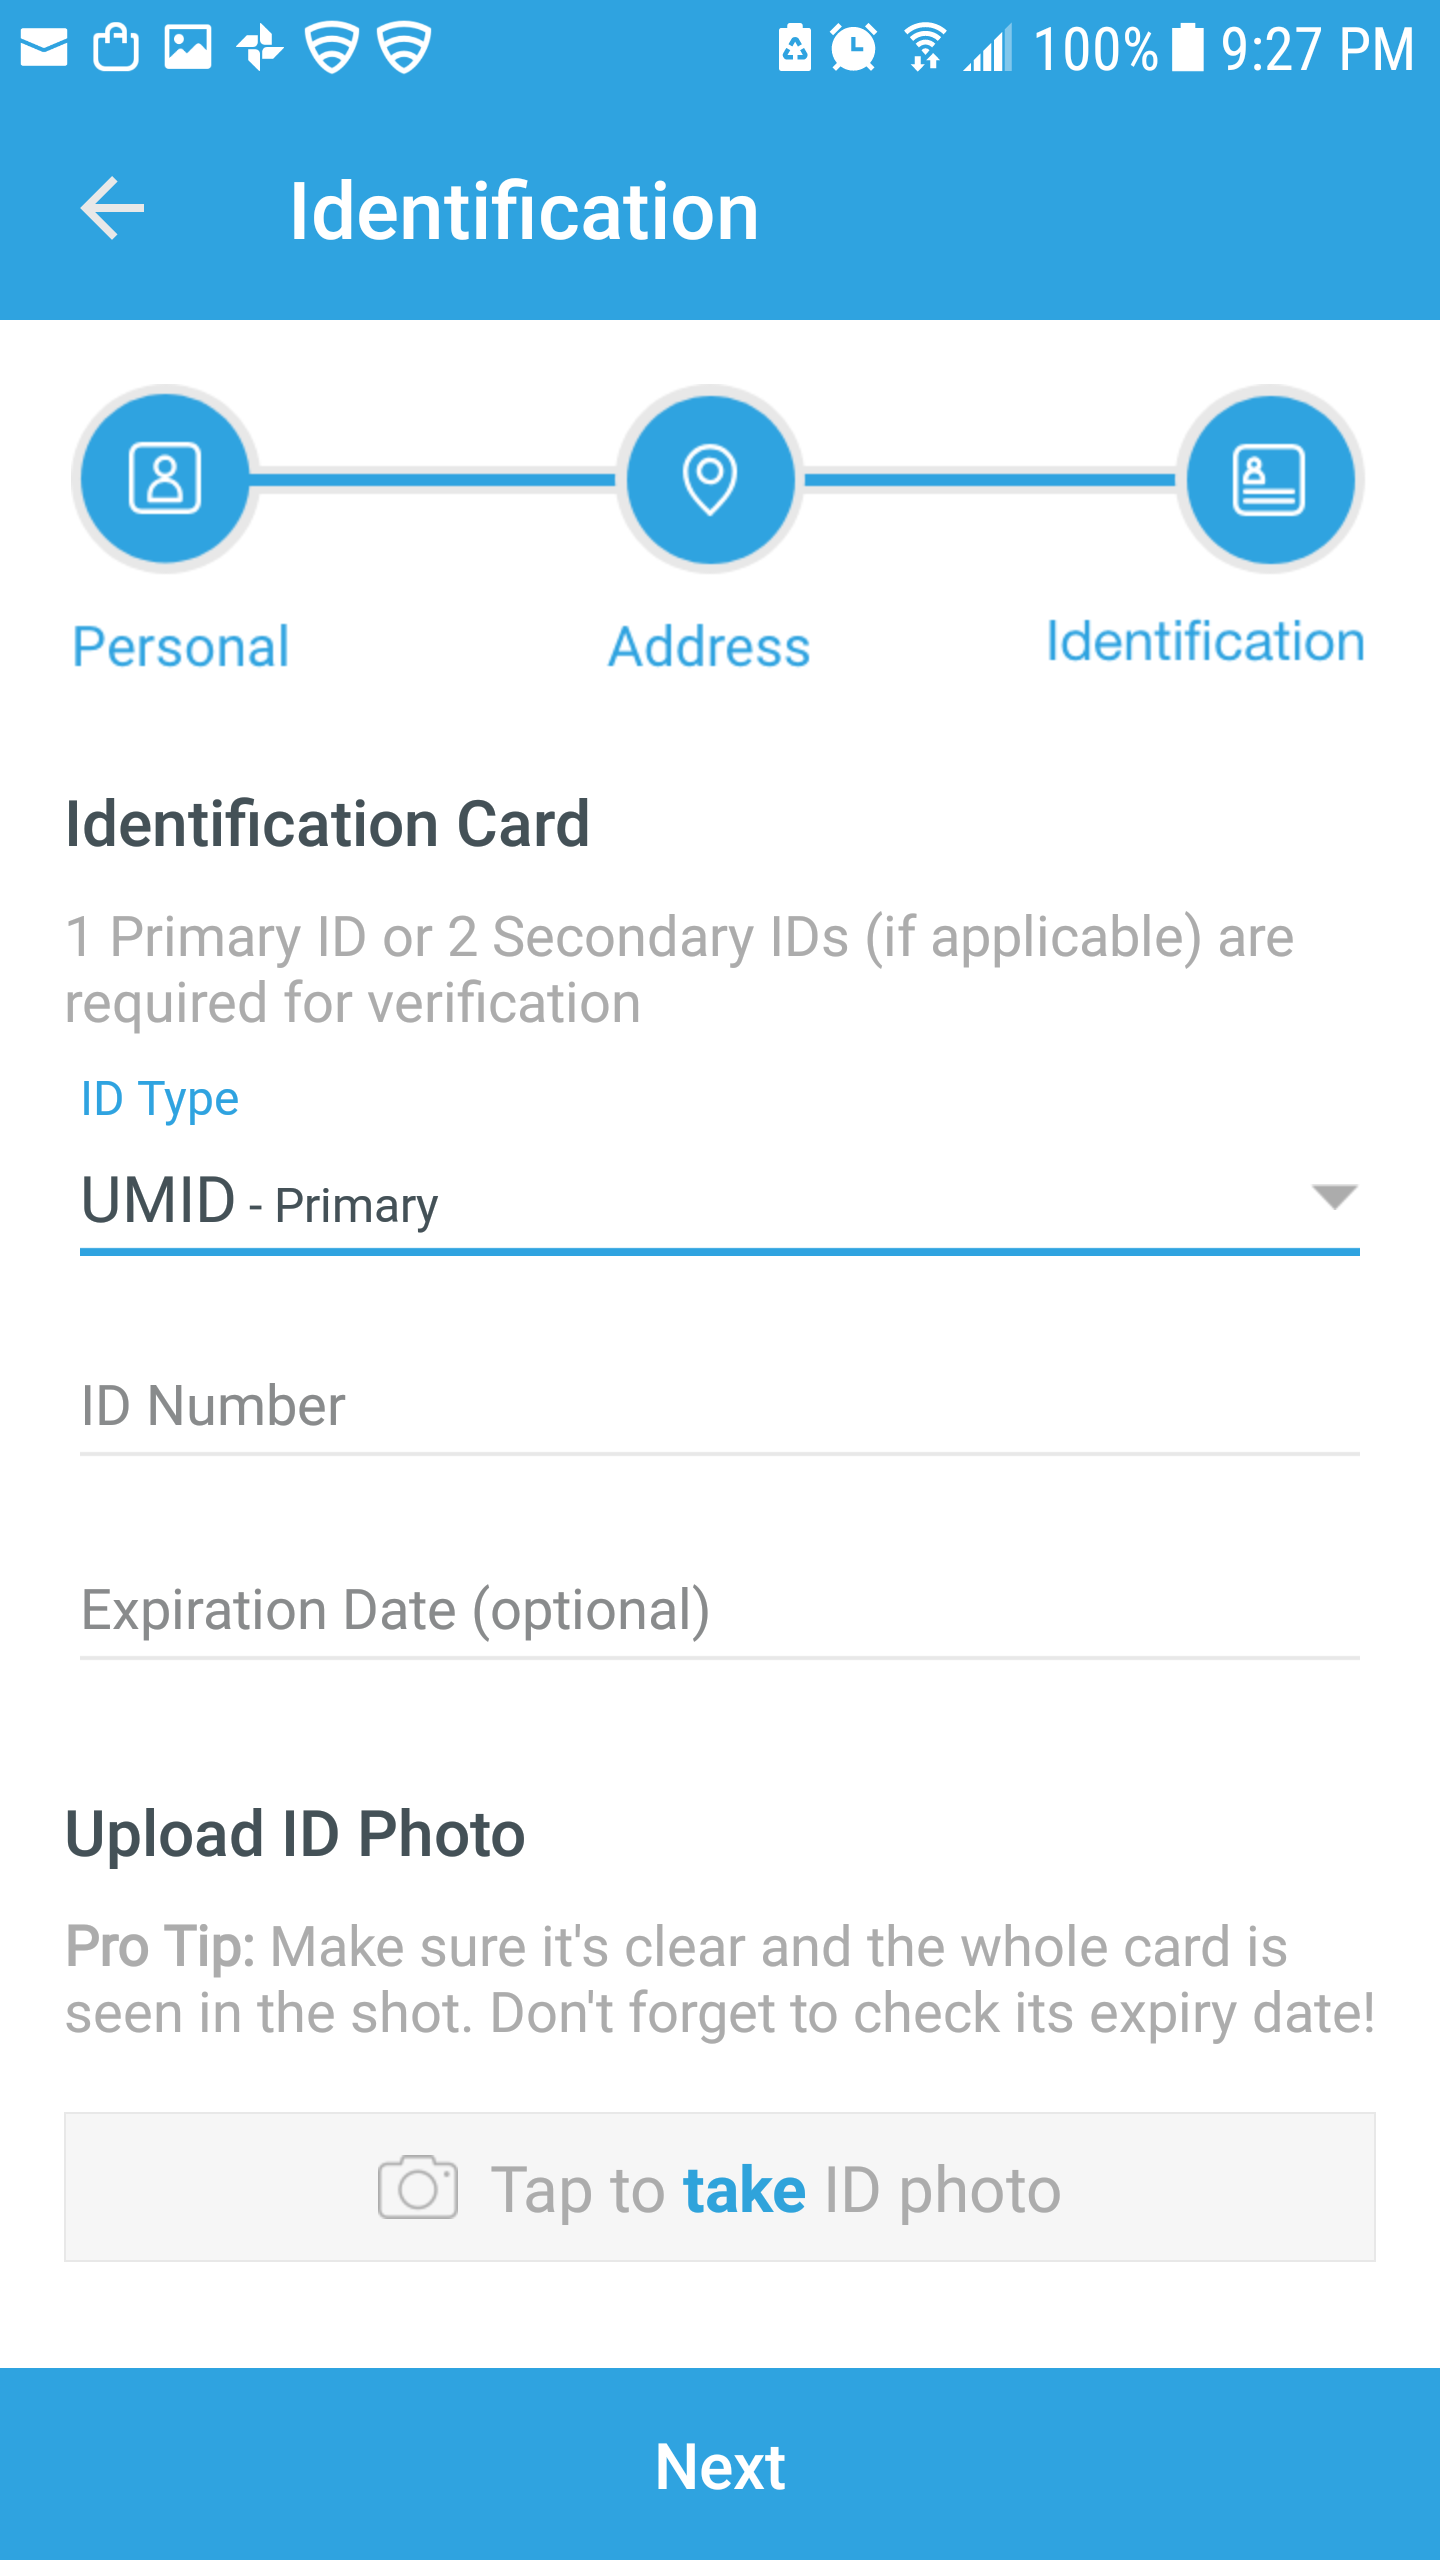
STEP 3: The next step is to upload your ID. You will also have a selfie to verify that’s the user is you and not someone who has a hold of your ID.
Accepted IDs are:
- Driver’s License
- Passport
- Postal ID (2015 and above)
- PRC ID
- SSS ID
- UMID
STEP 4: Wait until your account is verified.
STEP 5: Once it is, there will be a checkmark beside your name. You can enjoy the benefits of sending money to your loved one.
How to Add Money on Your PayMaya Account
STEP 1: Log-in to your account. Tap “Add Money.”
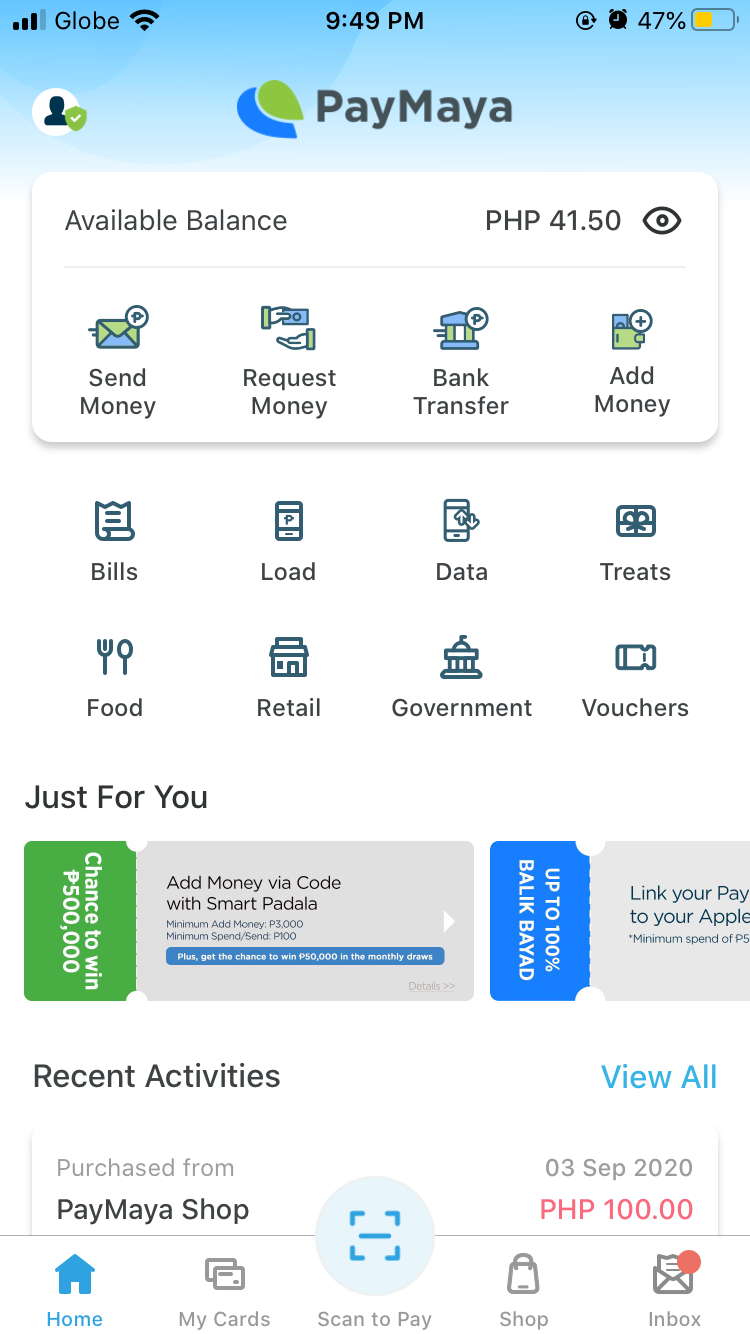
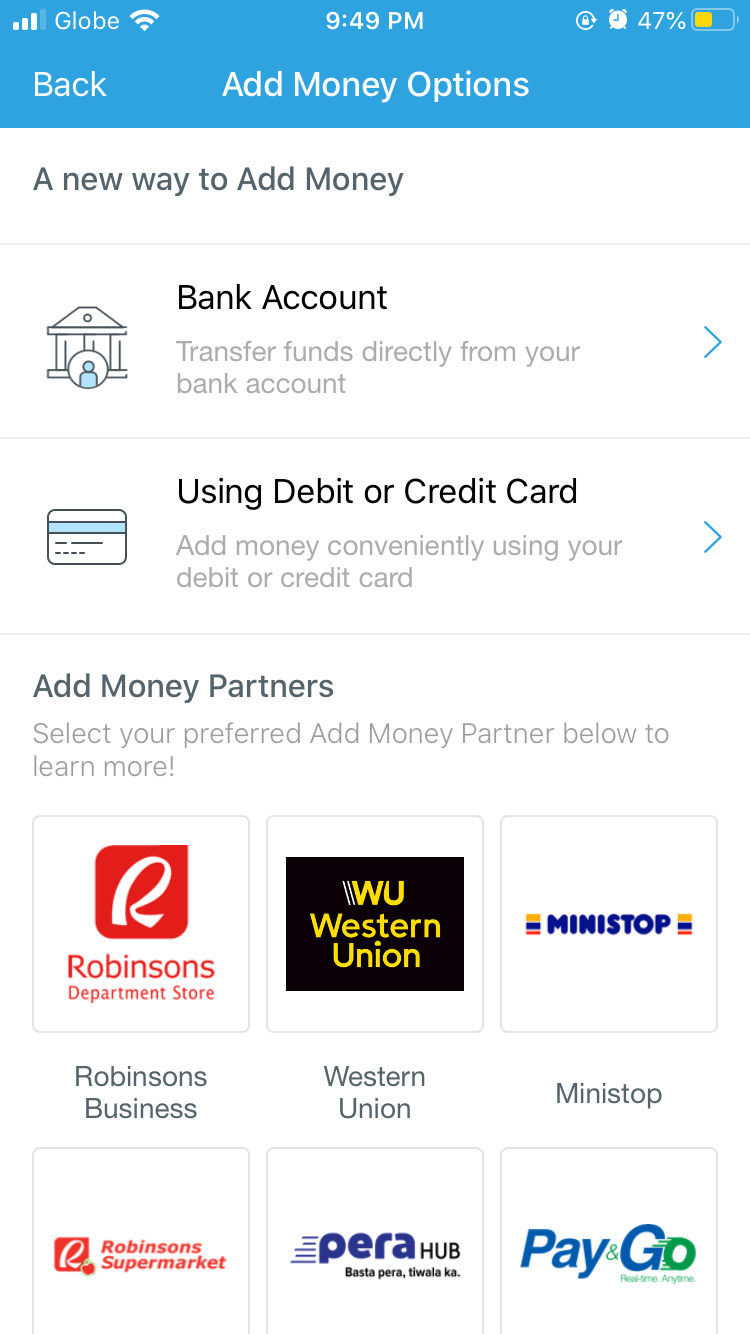
You can either choose the following options:
- Transfer funds through your bank account
- Use your Debit or Credit Card
Add money through their Partners:
- 7-Eleven
- All Card
- AUB via Instapay
- Ayannah
- Bayad Center
- BDO
- BPI
- Digipay
- ECPay
- ExpressPay
- Gaisano
- Global Access
- MayBank via Instapay
- Metrobank
- Mini Stop
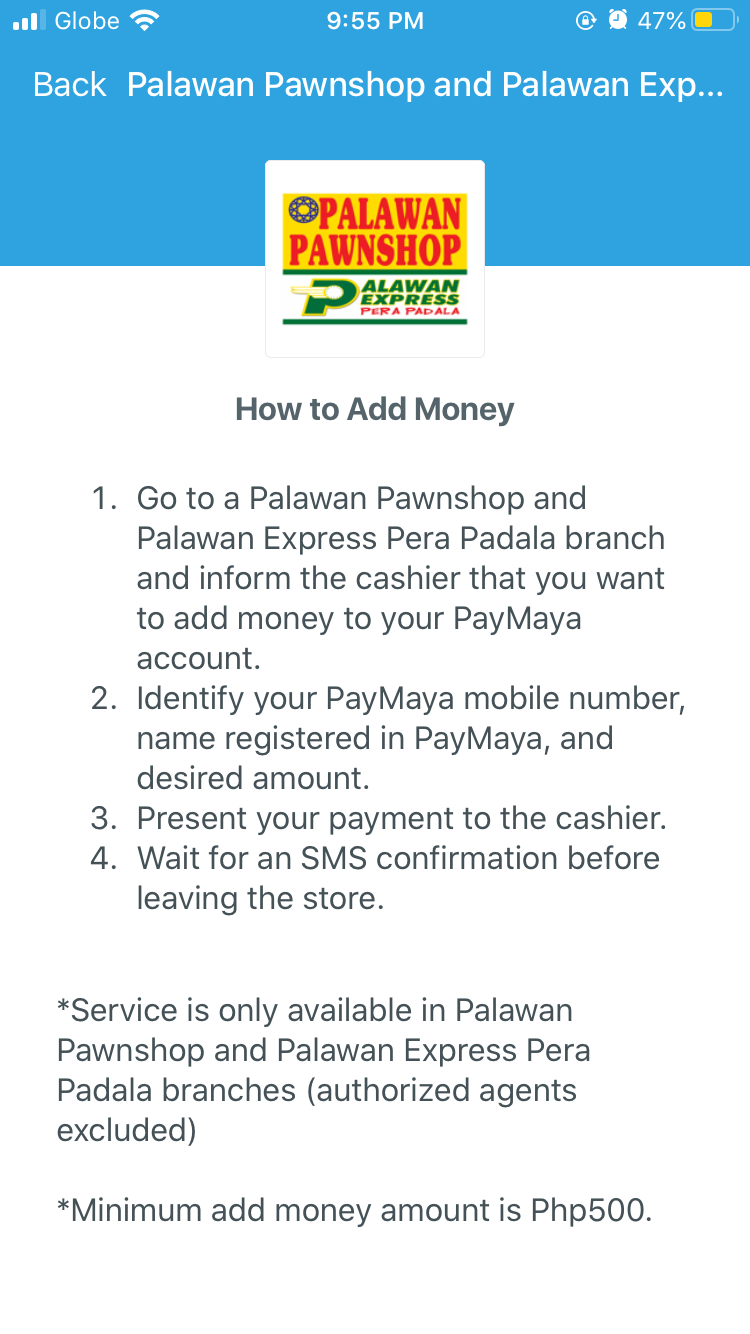
- Palawan Pawnshop
- Pay&Go
- PBCom via Instapay
- Perahub
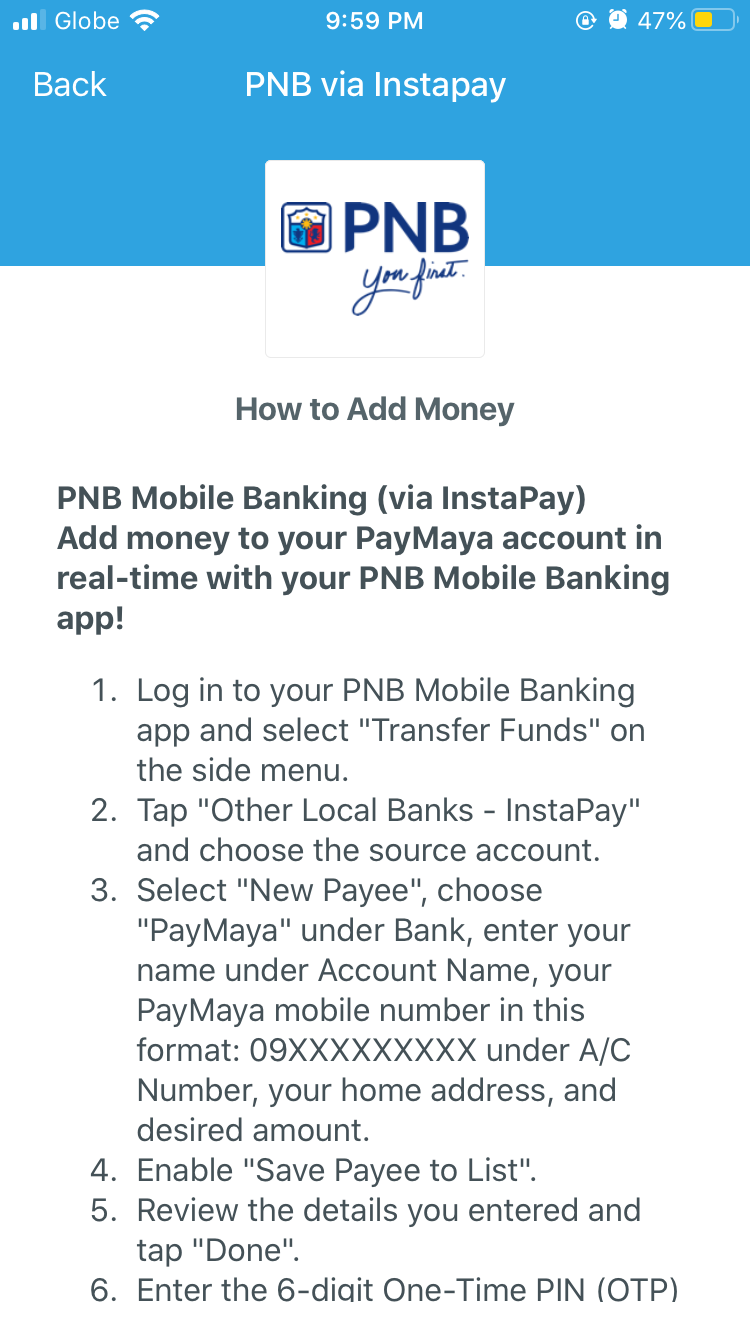
- PNB via Instapay
- Posible.Net
- RCBC
- RD Pawnshop
- Robinsons Business
- Robinsons Supermarket
- Smart Padala via Code
- Tambunting
- TouchPay
- UnionBank
- Western Union
STEP 2: Follow instructions indicated when you tap the option you want.
For example, for remittance centers, usually, you will go to a branch and inform the personnel you want to add money to your PayMaya account. A form will be filled up with the following details:
- PayMaya Mobile Number
- Name
- Amount
Then you present this to the cashier and wait for a confirmation on your account. Please note that some centers may ask for a valid ID.
How to Add Money on Your PayMaya Account via BPI Online Banking
Since I have a BPI Account, I will show you how to transfer it via there.
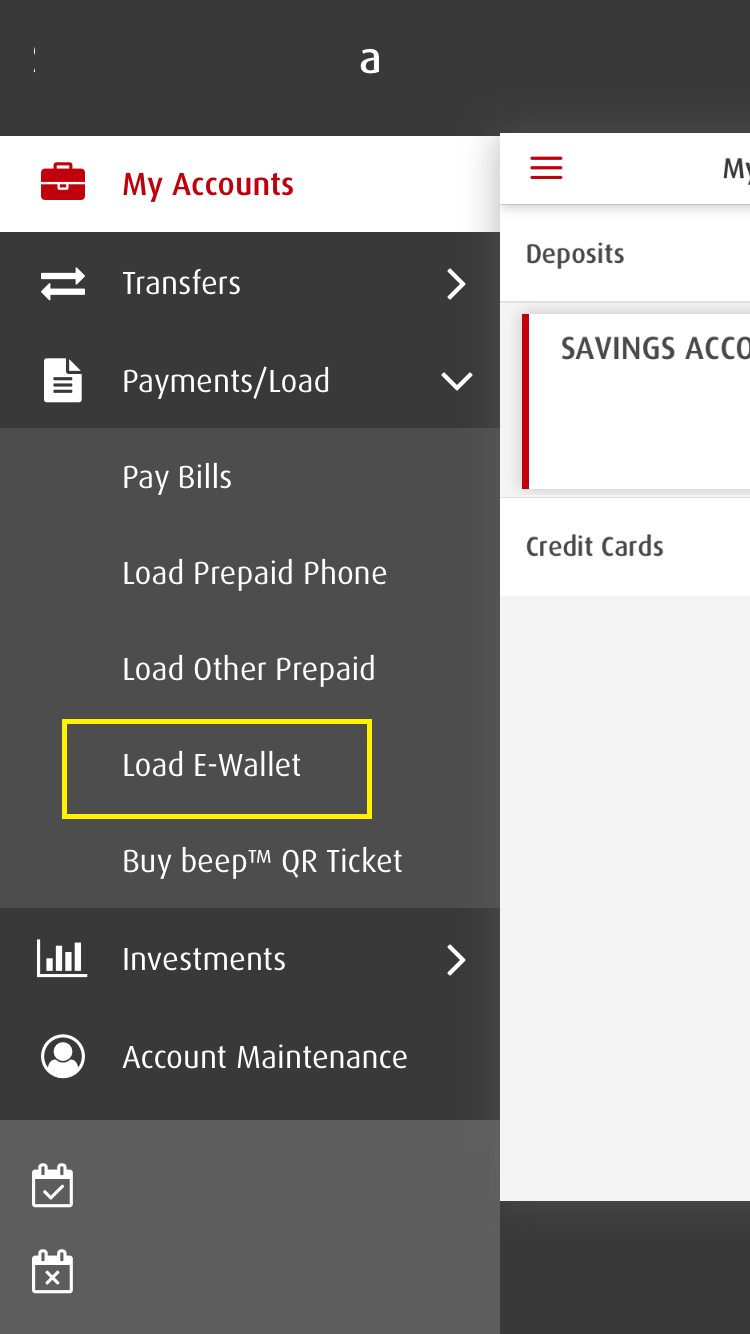
STEP 1: Log-in to your BPI mobile banking app and go to “Payments/Loads.”
STEP 2: Tap “Load to E-Wallet” the Choose “PayMaya.”
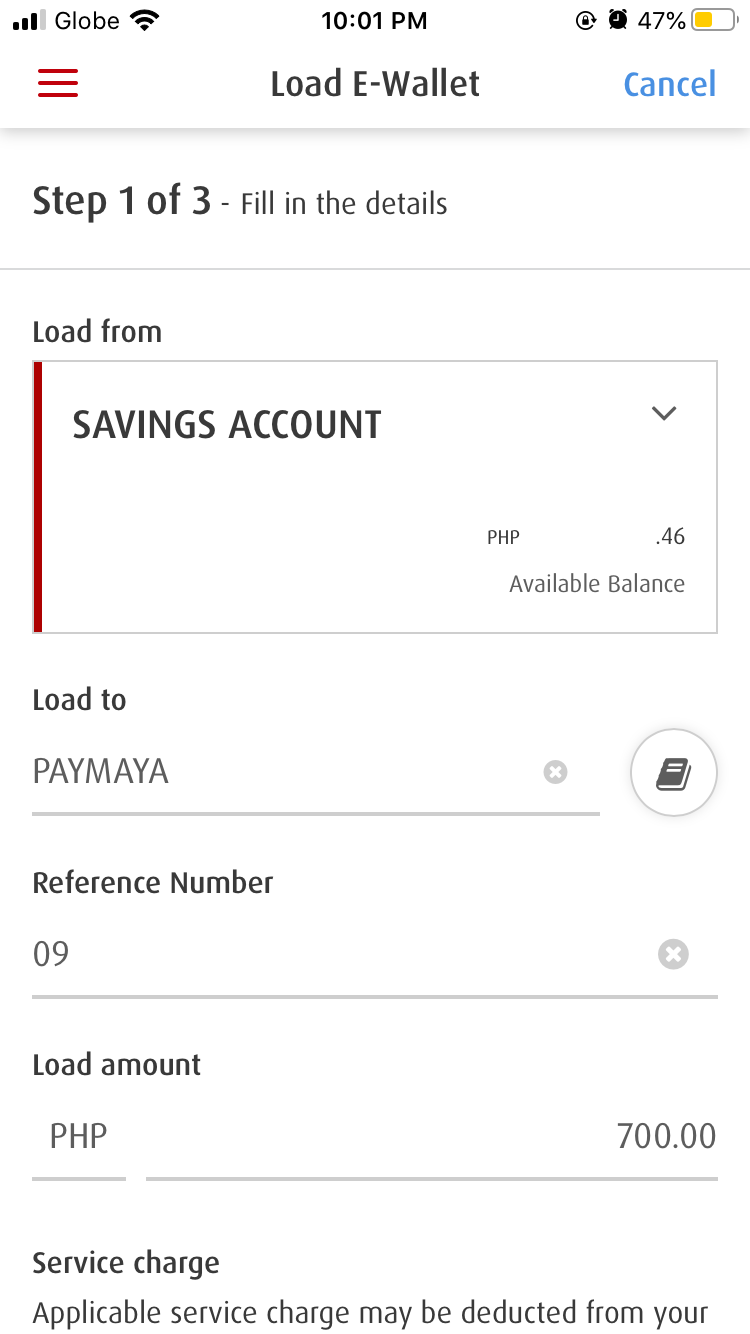
STEP 3: Fill out the information asked. Please note that the reference number is your PayMaya Mobile Number.
STEP 4: Review the details you have entered. Be careful as you might send it to a wrong number.
STEP 5: An OTP will be sent to your mobile number to confirm your transaction. Enter it. Submit it.
STEP 6: Once it is done, you will be notified that additional money is on your account.
How to Pay Using PayMaya
If you are in a store or buying online, then you can scan the QR code of your Supplier, and you are done!
Just find “Scan To Pay” at the bottom center of the screen. Align with the QR Code or upload it from your photos.
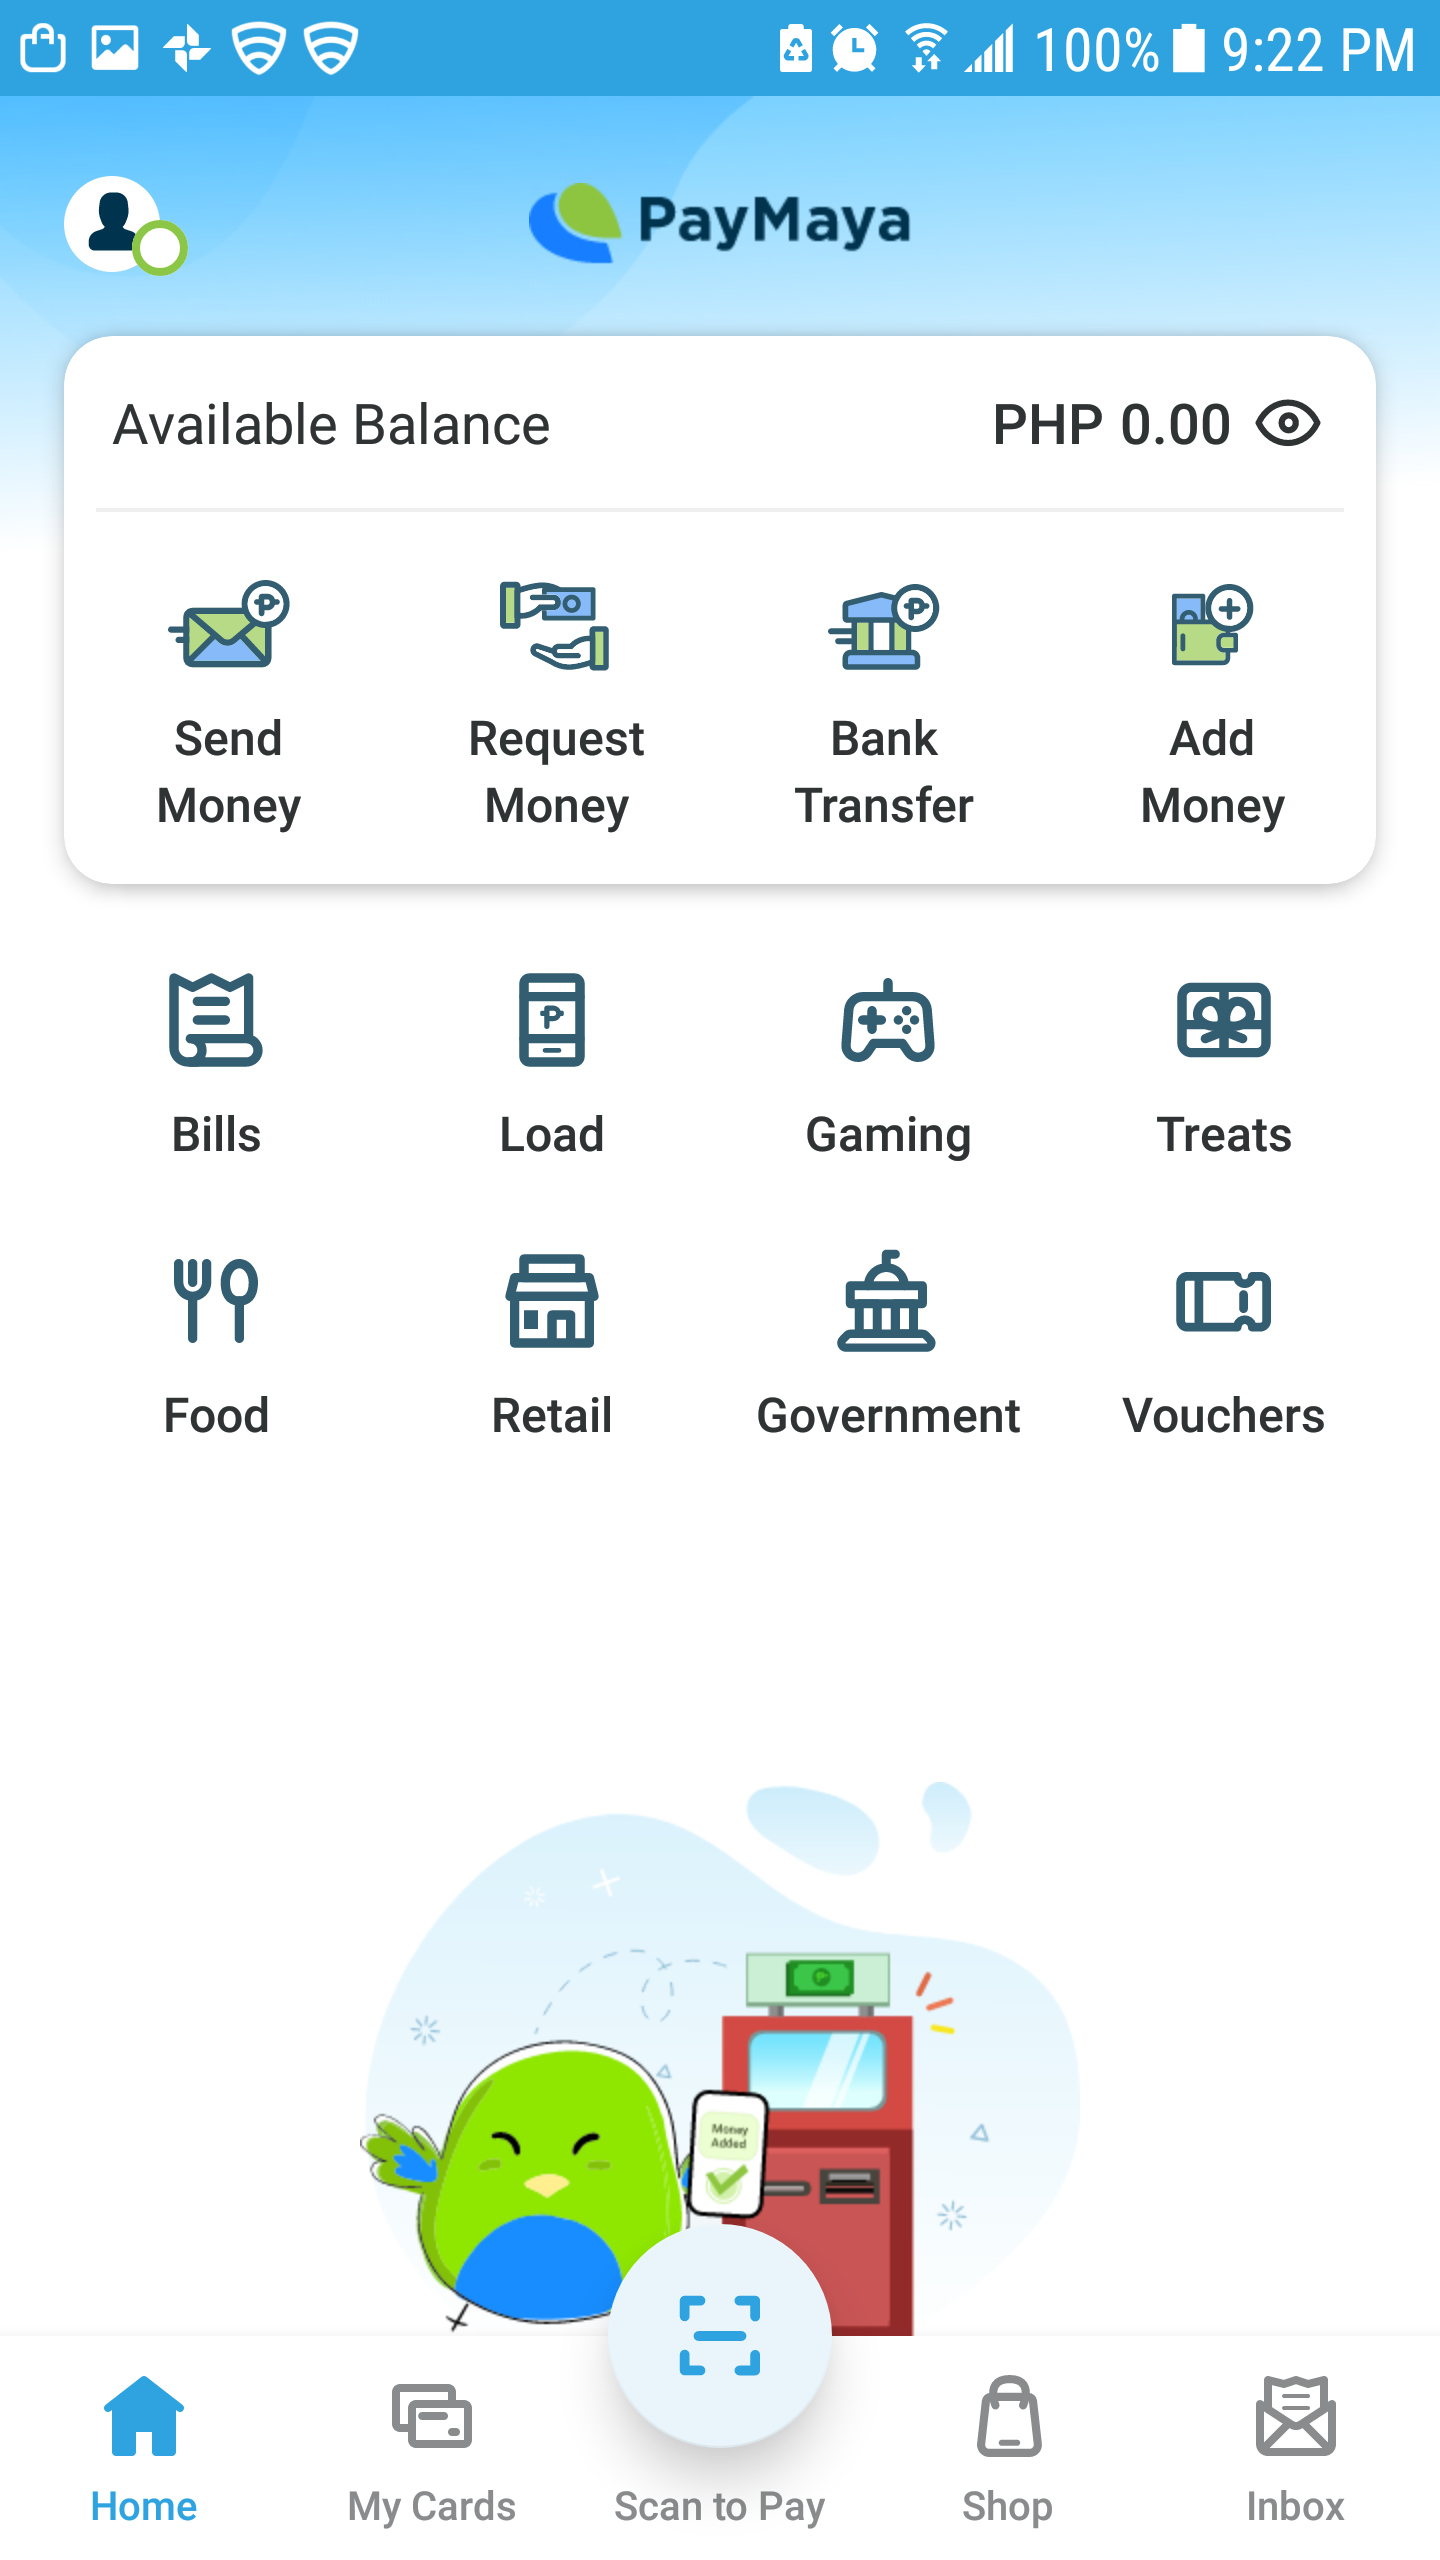

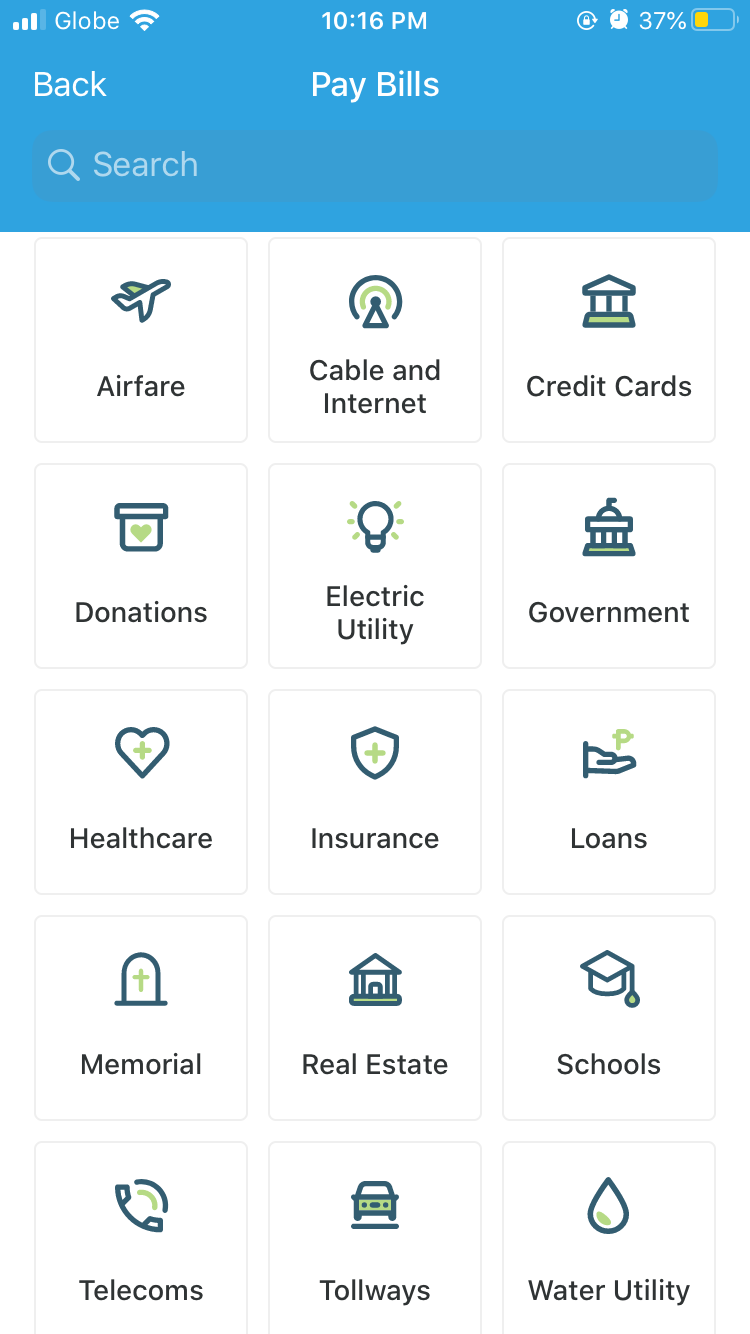
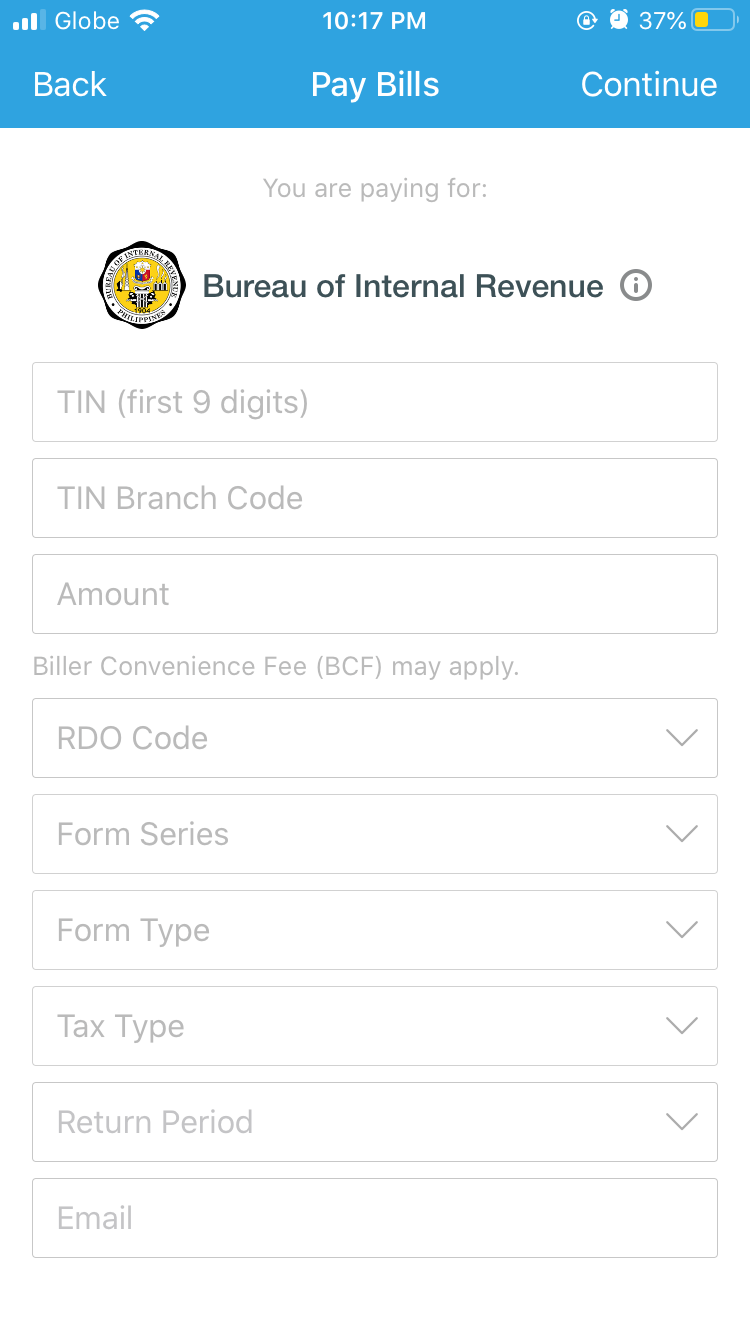
In case you are paying for a government institution, just go to Government and enter the details asked. Continue until you are done! Easy, isn’t it?
How to Send Money Using PayMaya
STEP 1: On the screen, tap “Send Money.”
STEP 2: Enter the mobile number of the person you want to send to. Make sure the person also has a PayMaya account, or else this wouldn’t do.
STEP 3: Enter the amount and continue.

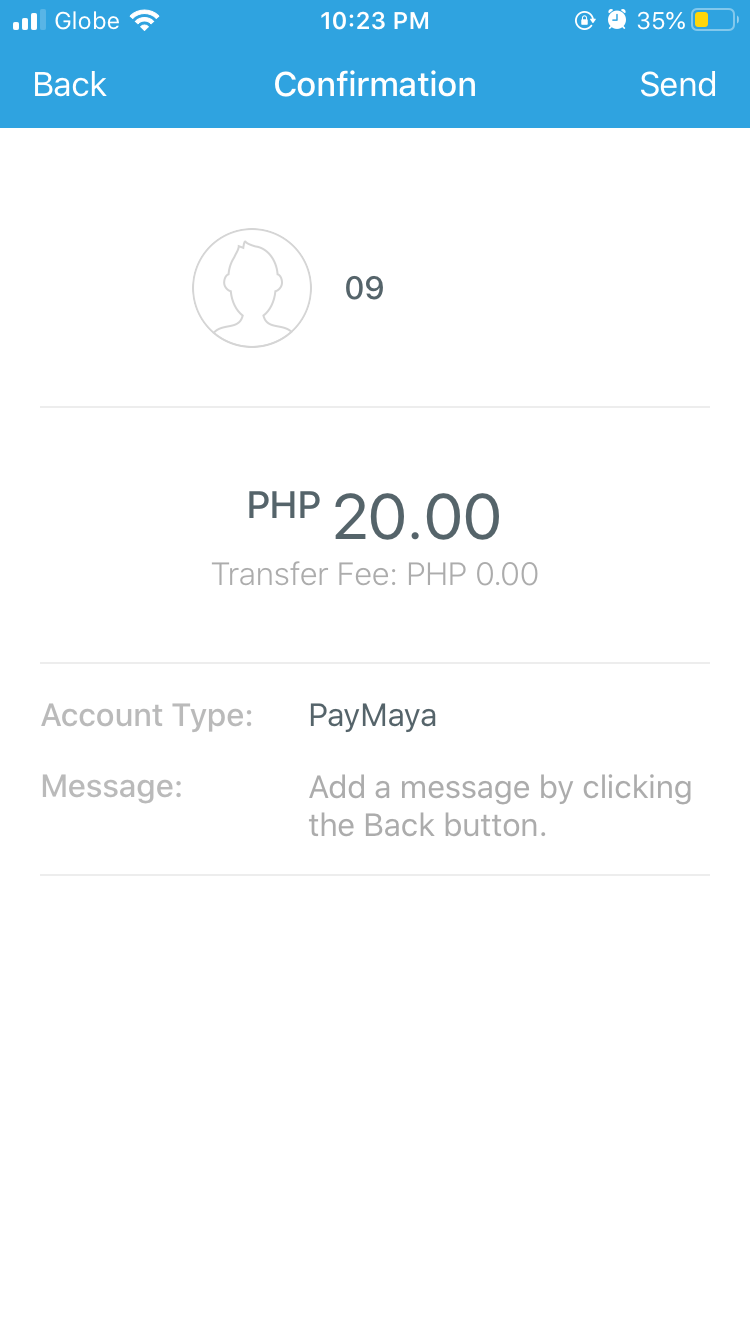
STEP 4: Double Check the Name or Number and the amount. Click Send.
STEP 5: Wait for a confirmation that you have successfully sent money.

It’s easy, isn’t it? That’s How to register and use PayMaya (Add, Send Money, Pay Bills). If you are tech-savvy, then you will find this not challenging, but if you are a newbie, you’ll get used to it as its user friendly. Unlike GCash though, you can’t cash-in with PayMaya, you’ll need to have a card for that. But if you want to send money to your loved one and get it converted to cash, check out our guide on how to Send Money through GCash!
[line]
About the Writer

Hey, I’m Lyza! I once was a person who just imagined going to places “one day” but decided to pursue my dreams. My first travel abroad was in Japan, solo, last 2018, and fell in love with the journey since. I’m aiming to visit 10 countries before turning 30 and 2 new places in the Philippines every year. Besides traveling, I love organizing trips, photography, reading, and making new friends. Follow my adventures through my Instagram.
[line]
Are you on Pinterest? Pin these!