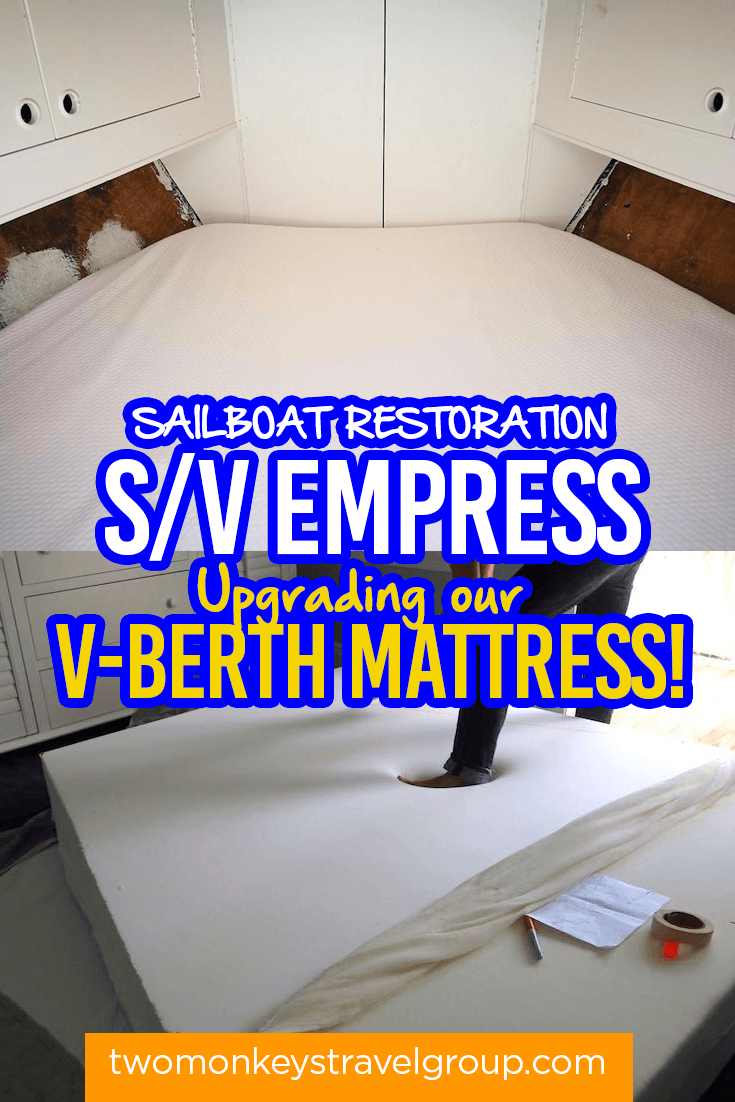
This article is all about our mission to get a good night’s sleep aboard on our liveaboard cruising sailboat, SV Empress, by replacing the thin old cushions with a king size, 10-inch thick luxury memory foam mattress from LULL.
At the end of this article, you can watch the video showing exactly how we did it!
How to Upgrade the V-Berth Mattress to Memory Foam on a Sailboat:
1. Throw away the old v-berth cushions, it’s time for a new start!
2. Check access needed under and around the mattress
3. Measure the space – in detail!
4. Make a detailed drawing that someone other than you can understand!
5. Check boat access to get your mattress into the boat.
6. Go choose your new mattress.
7. Release the mattress and unfold it to full size.
8. Transfer your measurements and prepare to cut the mattress to size.
9. Cut the mattress!
10. Recover the mattress and pin/staple it tight. Wrestle with the mattress to fold it in half. Tie it tight.
11. Finally, squeeze the mattress back into the boat (using the plan you made!) and get it into the v-berth.
12. Add bedding and enjoy a great night’s sleep on your boat… as long as you took care of that anchor!
Here’s a little back story about our decision to upgrade the mattress on our sailboat:
If we only live on land then a proper bed frames and mattress is a must have (you can find suggestions and reviews over at Sleepsources.com) so we know that this is important on living on a sailboat!
While having a conversation one day with a couple who are very experienced in living aboard a sailboat, they gave us what they considered their most important piece of advice for getting a comfortable and relaxing night’s sleep – “Get the best anchor you can, or you’ll be up all night worrying about dragging the anchor and hitting something. Then, throw away the old, thin mattresses in the v-berth and invest in the best mattress you can get your hands on so that you can actually sleep in your boat without getting a bad back!”
We already had the anchor covered, with a 65 pound (30kg) Mantus plough anchor with a self-setting hoop. This is known as one of the best anchors out there, so we were well on our way! We then had a good look at our v-berth sleeping situation on the sailboat. Here is the short and simple version of how we upgraded the bed of our liveaboard sailboat, step-by-step:
1. Throw away the old v-berth cushions!
2. Check access needed under and around the mattress.
Check your access requirements under the v-berth mattress. Do you have tank access, inspection cover, storage or vital equipment under there? You’ll need to take this into account when planning the installation of the new mattress.
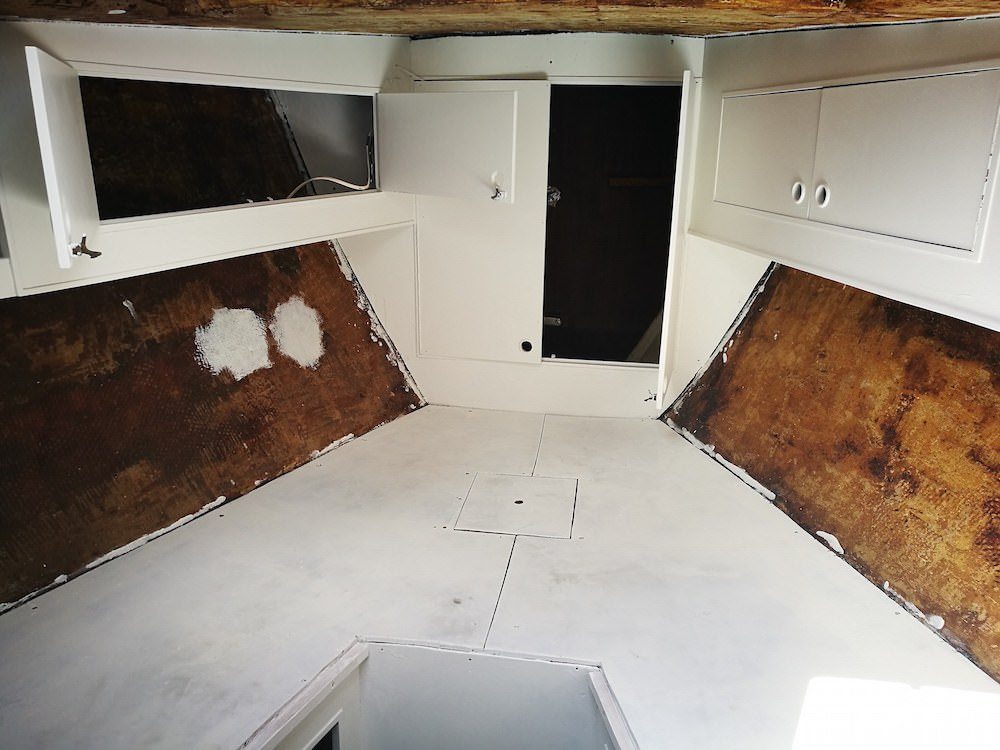
We have our 75 gallon plastic water tank under the v-berth, with a screw on inspection hatch under a plywood cover, but I did;t want to cut a hole in the mattress just for that, so if I need to get access into there, I’ll simply have to lift the mattress and have Kach hold it for me. Or tie it out of the way.
3. Measure the space – in detail!
Measure the space for the new mattress, in detail! V-berths are not normal spaces in two dimensions, but you also have to consider the widening of the space along the hull sides on the vertical axis. Take note of any cupboards, shelving or other things that you will need to open. This will help to determine the maximum thickness of mattress you can accommodate in the space.
In our boat, the aft width of the v-berth is actually wider than the king size mattress we were putting in, so the cutting needed was quite minimal. Along the hull sides, I took two sets on measurements for the width. At the base level of the bed, which is the narrowest, then 10 inches above that where the width is greater due to the shape of the hull.
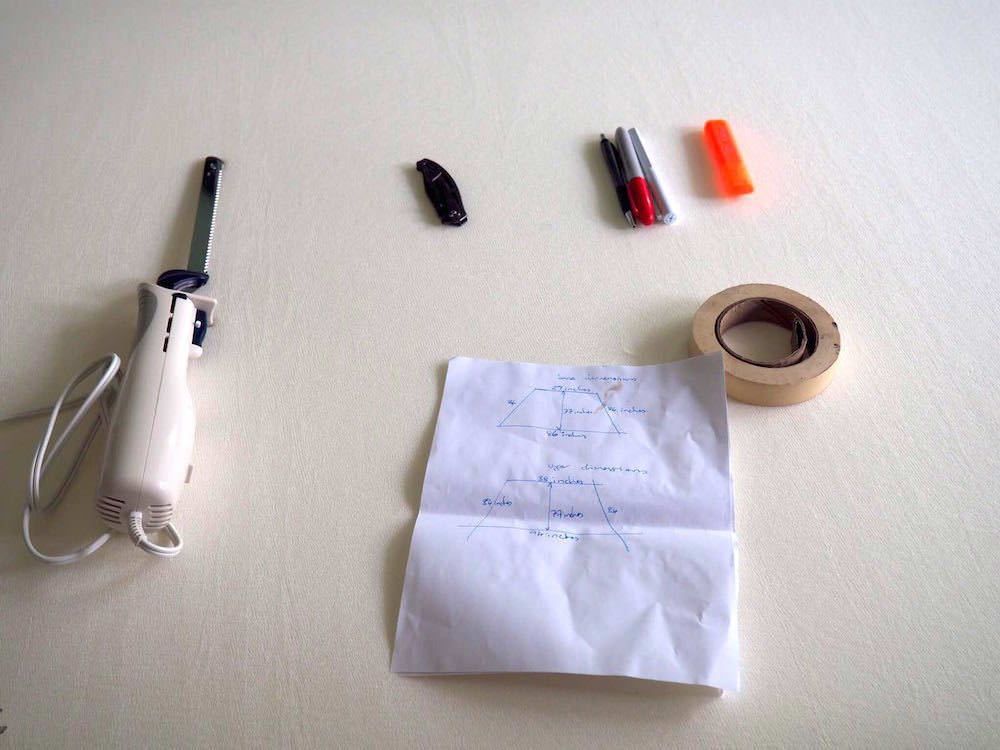
4. Make a detailed drawing.
Basic sketches and mental notes are fine for a normal bed, but you need to draw this all out, even if you can’t draw. My hand drawing is not the best, but I come from an architectural background so I know how putting it all into a drawing can help to wrap your head around a space. You might also need to explain all this to someone else, like a mattress salesman, in which case you will need to draw it for them!
5. Check your accessibility into the boat.
Whatever size and type of mattress you choose will need to be able to fit inside your boat, probably through the companionway hatch. Unless you have one of those centre-cockpit cruisers with an aft cabin and two-leaf hatches that open up half the cockpit deck, but that’s just a fantasy for most sailboat owners! Think through every stage of your strategy, or you get stuck and have to make big compromises.

On our boat, the companionway hatch was the only answer, so I knew that was my pinch point for us to work with.
6. Go find your perfect mattress!
This entails a fine balance of budget, length, width, height and foam type. Bear in mind that it must be a foam mattress, with no rigid internal parts like springs, otherwise, you won’t be able to cut it into the right shape. We chose the LULL king size memory foam, 10 inches thick with a 2-inch cooling layer on top.
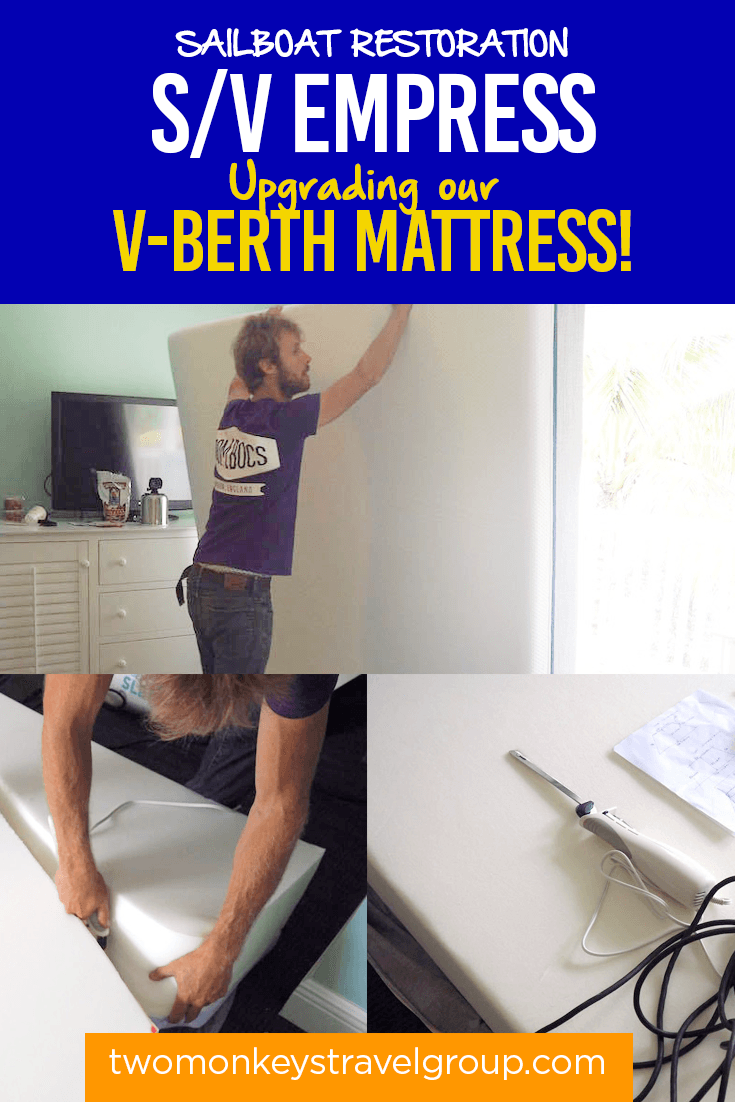
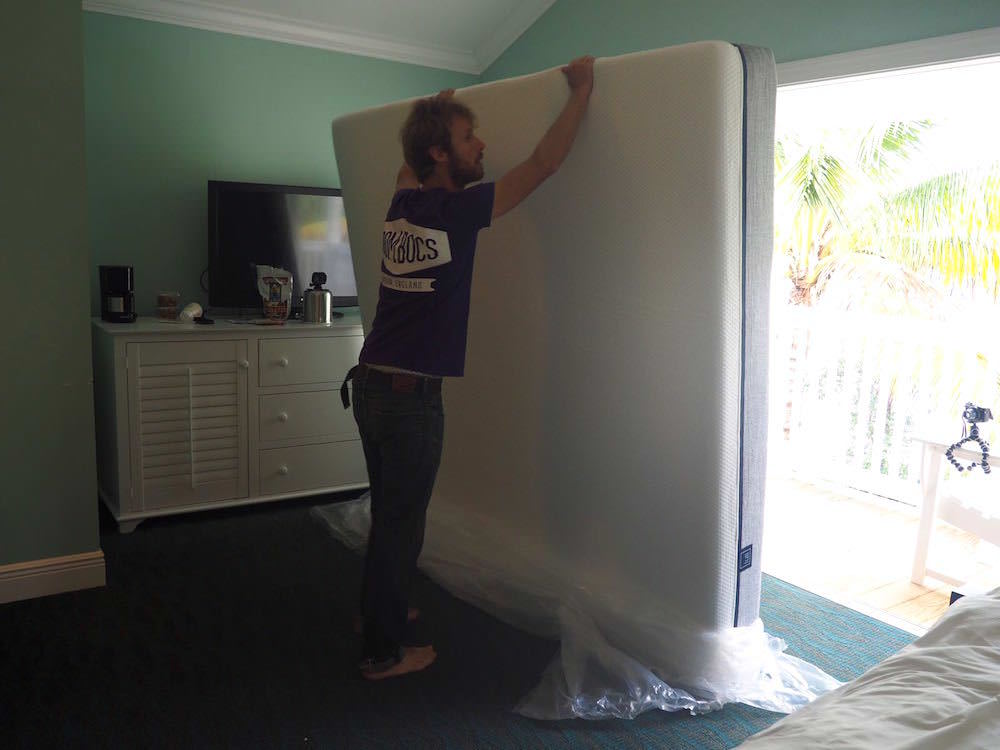
7. Unleash the mattress!
I say “unleash” because memory foam mattresses are packed into a small size and shape by a huge hydraulic press machine in the factory. This will fit in the back of most decent sized cars, but probably not a compact. As soon as you cut away the plastic shrink wrap, your mattress is going to start to expand very quickly and reach its full size. Think very carefully about where to open the mattress – in your home, inside the boat, on the dock… Whatever you do, you’ll need room to work, measure and cut, yet still be able to get it through the door. We were a little daunted when it expanded for the first time!
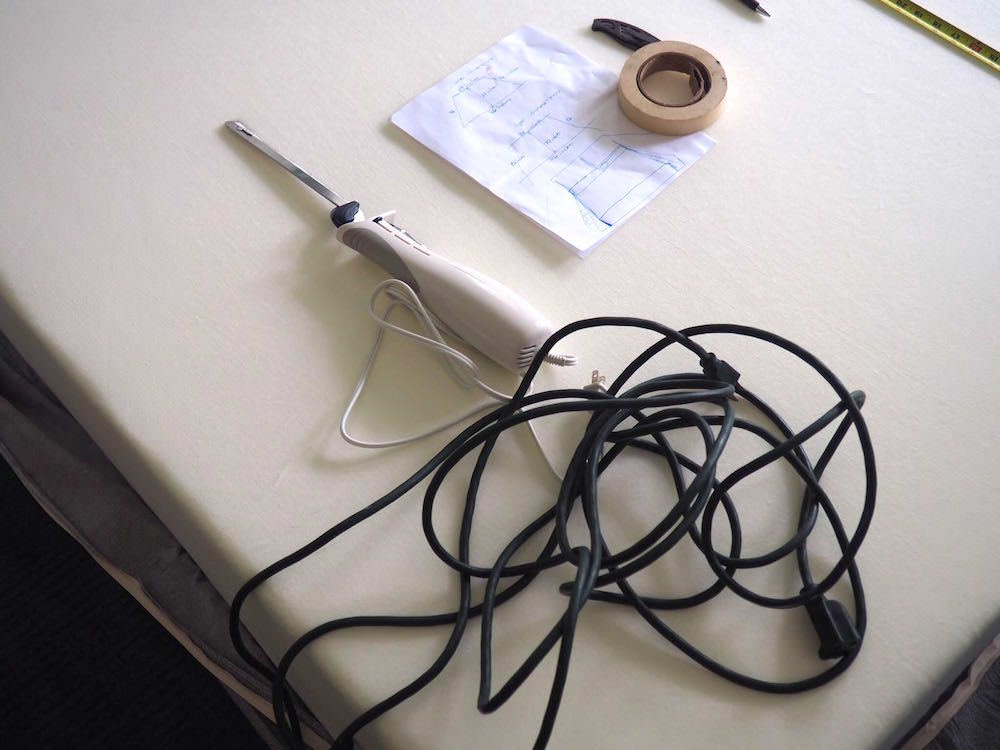
8. Get ready for cutting the mattress.
You’ll need a tape measure, a sharpie marker, and an electric bread or carving knife. Take your time and transfer your measurements onto the top layer of foam on your mattress. Double check everything – the age-old old adage of “measure twice, cut once,” applies here in spades. Gluing foam back together if you cut too much off, is very difficult and is going to result in an uneven surface. Don’t make the mistake I made without thinking properly, which was to mark the cutting lines onto the thin inner cover of the mattress, so I then had to transfer the measurements onto the mattress again!
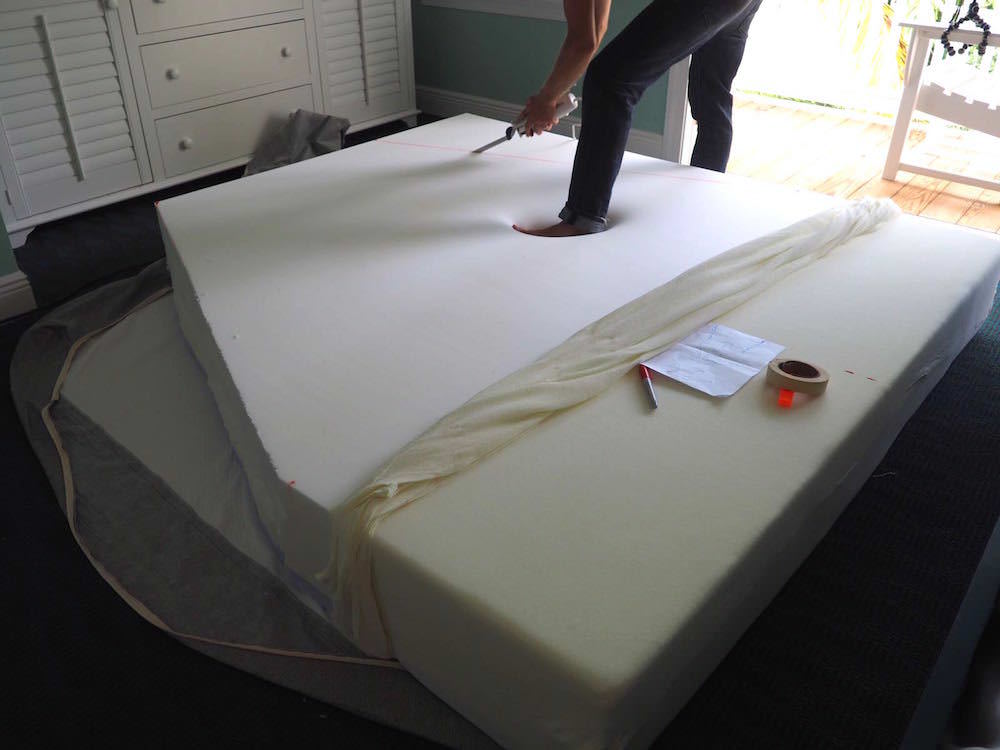
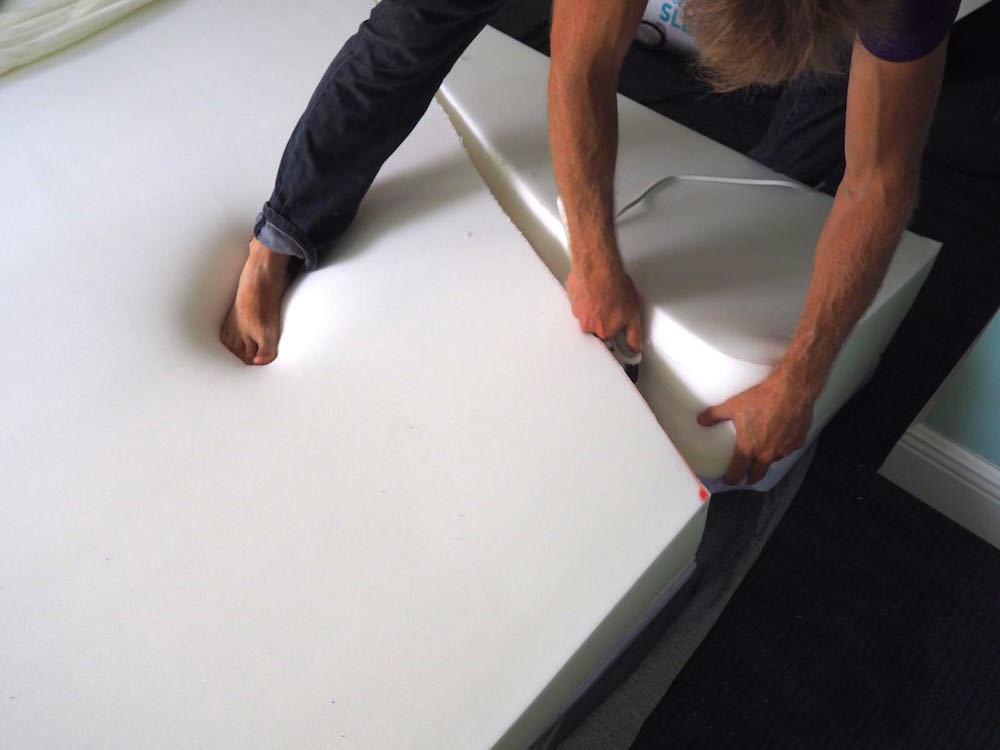
9. Cut the mattress!
The first cutting you’re going to do will be the overall shape of the upper side of the mattress, where the hull width is the widest. Get the electric bread or carving knife ready and line up ready for your first cut. Don’t be shy or nervous, these knives cut through the foam really easily and smoothly. If you have a mattress over 6 inches thick, then you’re going to have to make more than one cut to get all the way through. I had to make several cuts to get all the way through our 10-inch mattress!
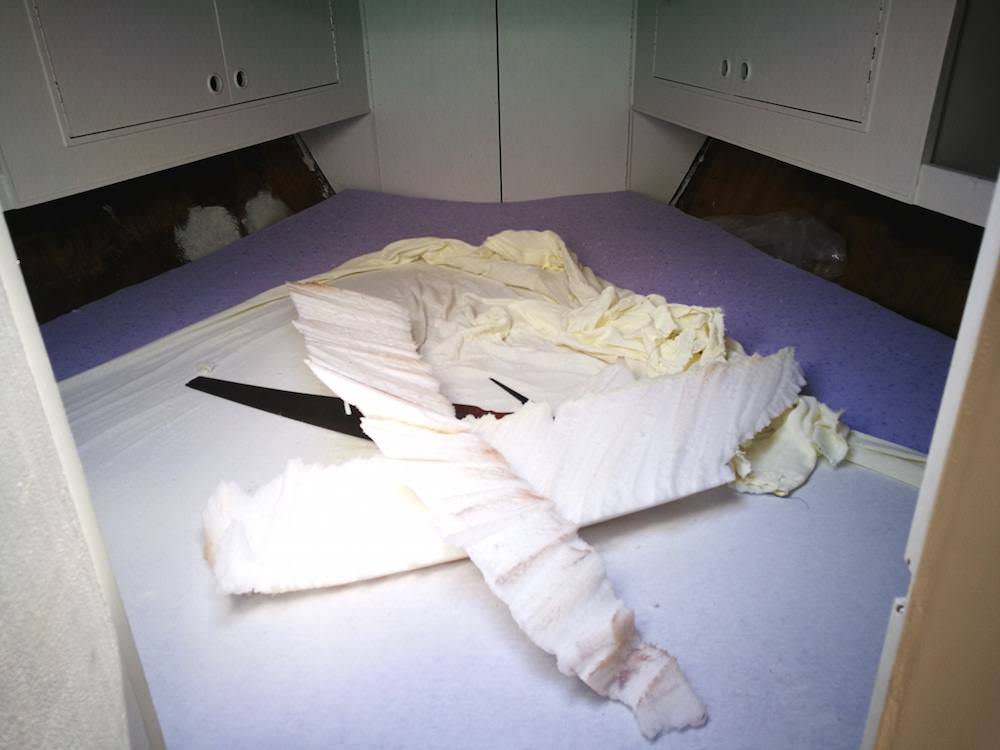
Once you’ve finished cutting the overall shape, you are going to need to refer to your measurements that made for the lowest part of the mattress base, as this is where the hull width is at its narrowest in relation to where your mattress is going. Every boat and its hull are different, so you’re going to have to figure out how to ‘chamfer’ the cut to create a good fit against the hull sides. At this point, it may help to flip the mattress upside down, then mark our the measurements of the bed base with the marker. Then you can take your electric knife and make the angled cut that you need. Don’t worry about it being completely smooth, the foam is very forgiving and it will lightly press up against the hull sides. Unless you decided to cut it smaller for easier fitting and removal of bed sheets.
I’m not advising you to do what I did, which was complete the chamfered edge cut once inside the boat. It was a special kind of hell, even if the time-lapse video made it look easy! Do as much as possible outside of the boat.
10. Recover the mattress. Fold it in half.
Now that you have cut your mattress into the perfect size and shape (hopefully!), you’re ready to pull the protective cover back over it and prepare to get it into place on the boat. Simple right?! Getting the protective cover back over is easy, but it’s very important as it’s very hard to do once inside the boat. Use pins or staples to secure the excess material.
Folding the mattress is where things get a little bit trickier. You’ll have to prepare a length of line and tie a loop in the end, with another loop part way along, so that you can use it as a ‘trucker’s hitch’ to tighten down on the mattress once it’s folded in half. Try to get it as small as possible in order to get it into the boat, probably through your companionway hatch. Use the plastic wrapping the came with the mattress to wrap it all up and protect it as you’re transporting it and squeezing it through tight spaces. I found this trucker hitch method to work quite well, as long as you can pull down on it hard enough to get it tight.
11. Squeeze the mattress back into the boat.
I say squeeze because that’s exactly what it’s going to be. If you decided to unfold the mattress and do all of your measuring and cutting inside the boat, then I salute you! Or you have a huge boat, in which case I’m very happy for you and a tiny bit jealous!
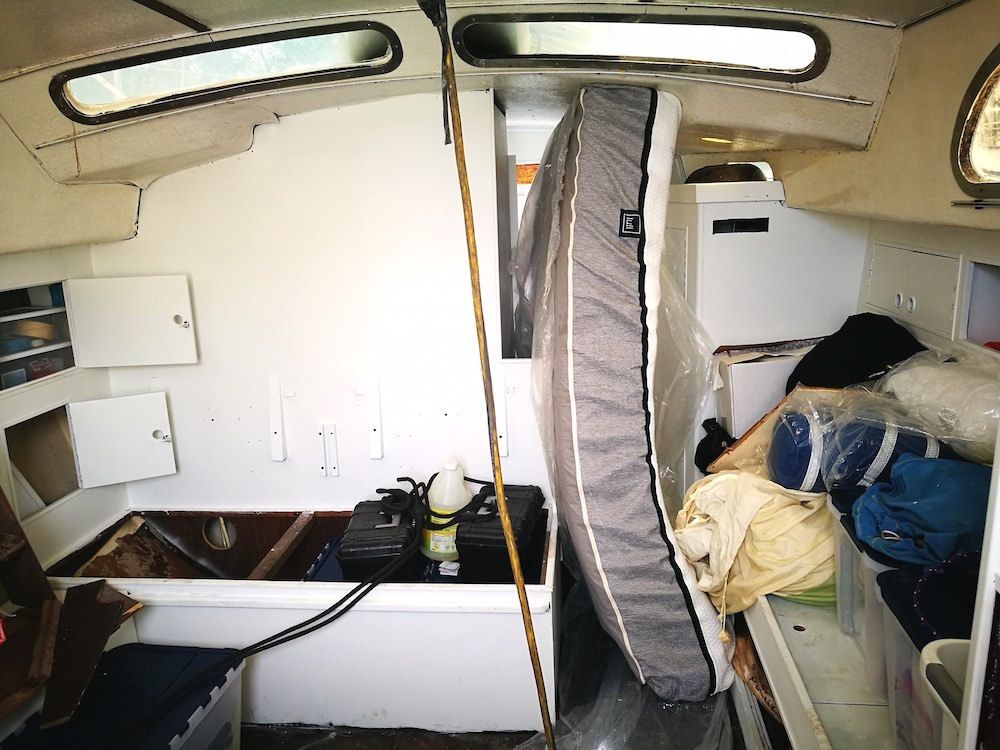
It took me a massive effort just to get our LULL mattress through the companionway hatch, but there was no way I would have had space to measure and cut inside, despite the +11 foot beam in a 37-foot boat – Yes, she’s a proper old fatty! Once in the main cabin, I actually had to cut the ropes and unfold it, in order to be able to wrestle it into the v-berth. I highly recommend keeping the plastic covering on until the mattress is in its final resting place, then you can pull it all off once you know it’s safe and will stay clean and dry.
Like I mentioned before, I left the final cuts until the mattress was already back inside the boat, so I still had to unwrap everything to finish it off. Don’t do that!
12. Finish your bed and enjoy!
Add fresh new bedding and enjoy a great night’s sleep on your boat… as long as you took care of that anchor of course!
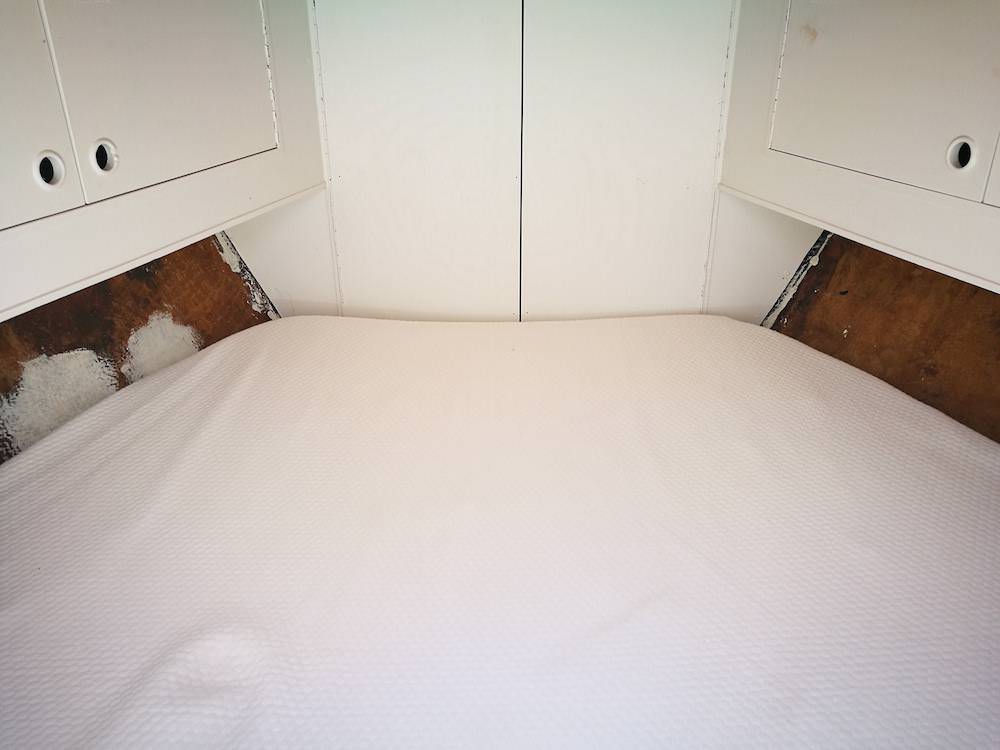
We have some amazing bamboo fiber bed sheets from Bed Voyage, which are incredibly comfortable and very resistant to damp, mold and mildew. We’ll be updating this article once we’ve finished the decorating of the boat and dress the bed up properly without ruining the sheets!

Check out our video below to see how we upgraded our v-berth sailboat mattress from rigid old cushions to luxurious memory foam!